
How to List an Event or Experience
Follow the steps below to create and publish your event on Browse Botswana.
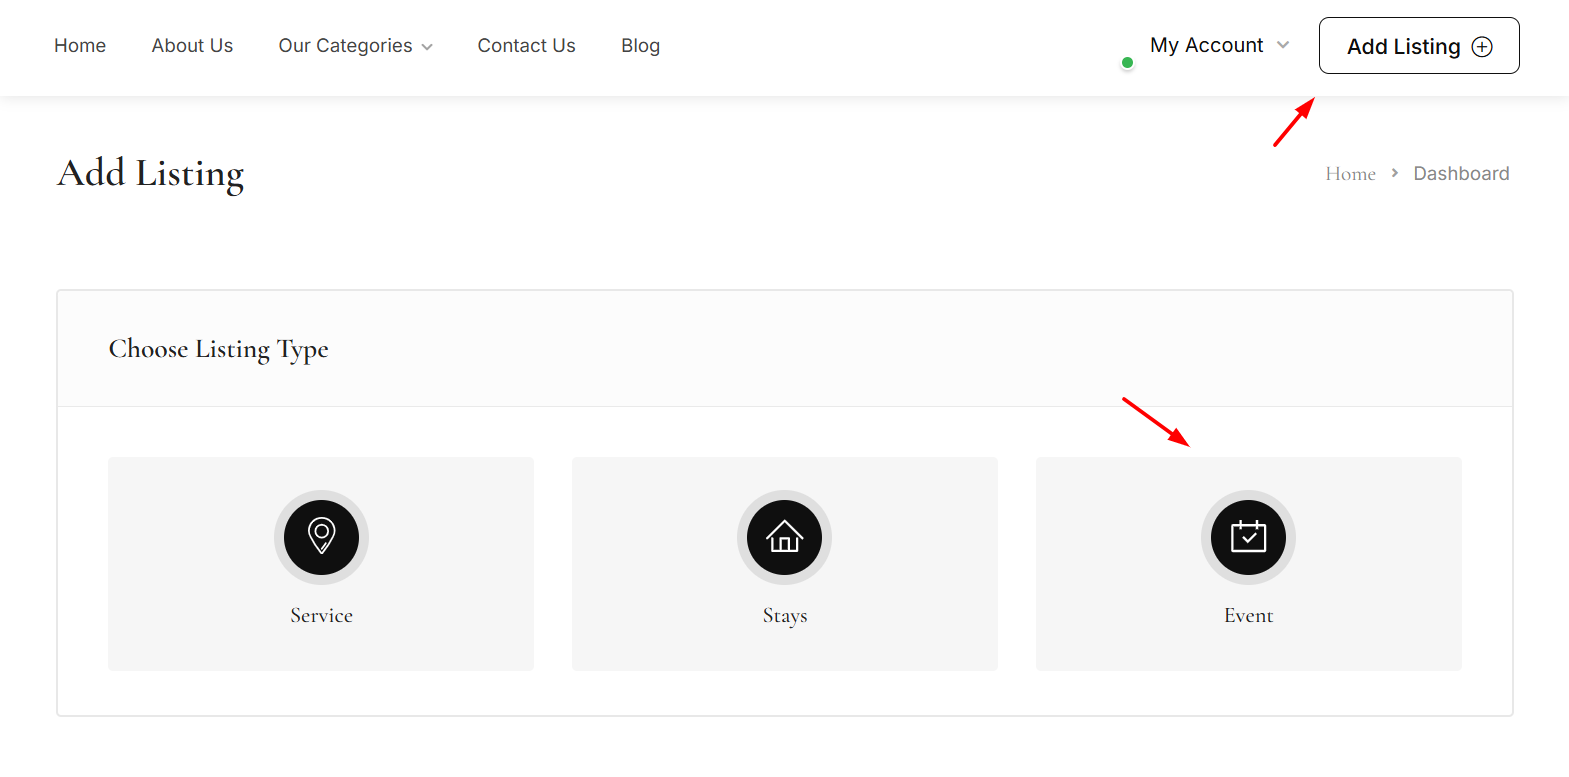
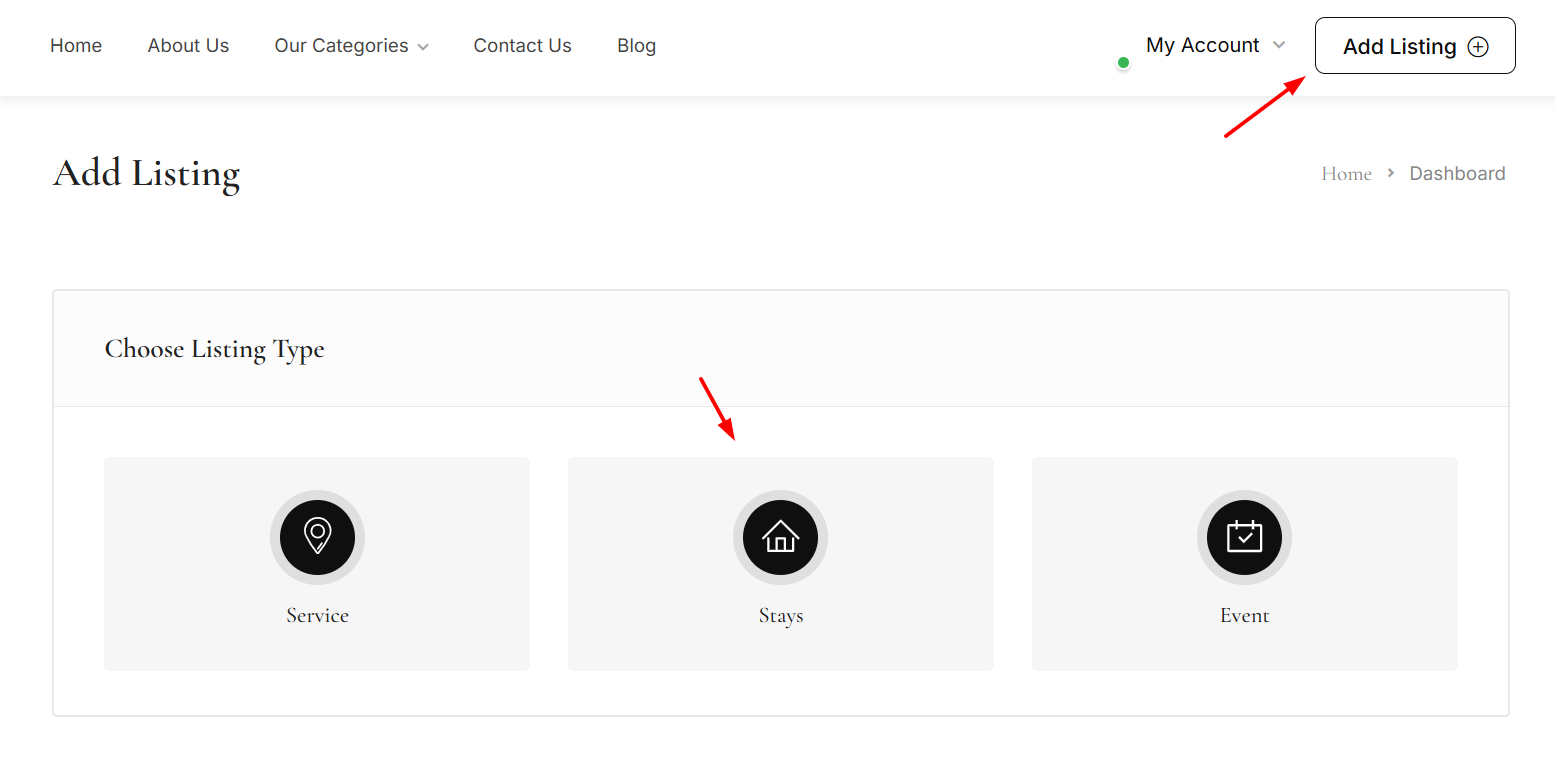
Start: Access the Listing Form
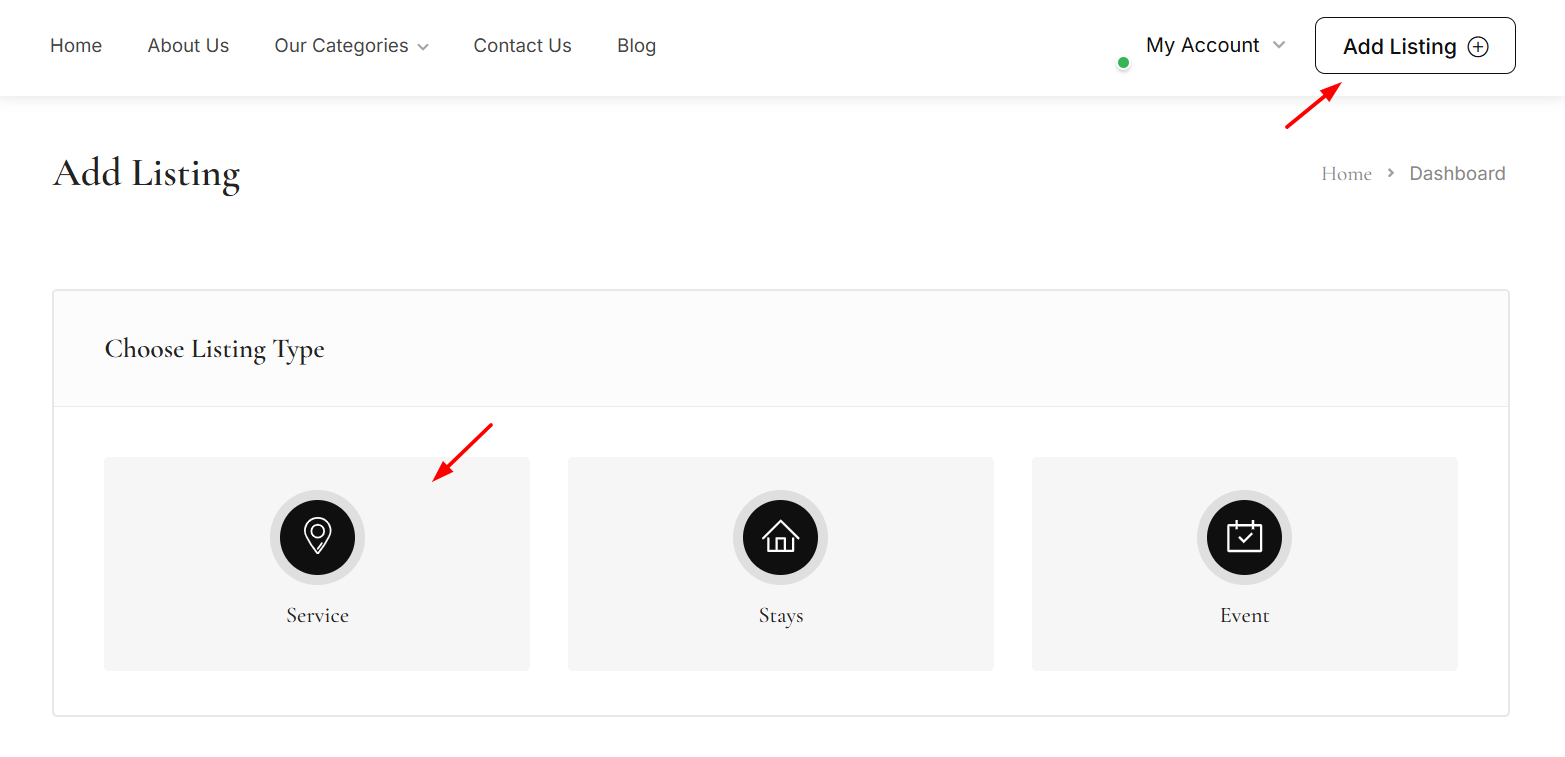
Log in to your owner account and click the Add Listing button in the website header.
This will open the event listing form.
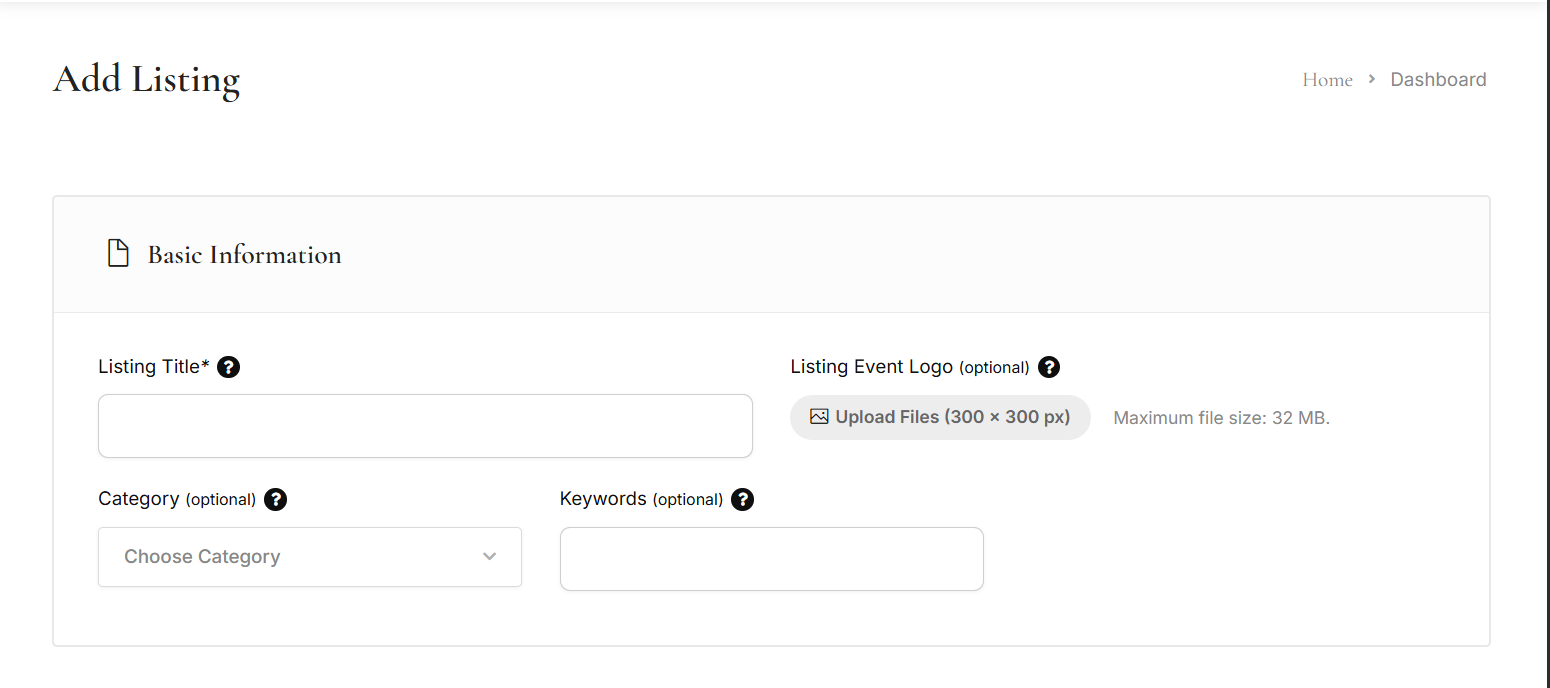
Basic Information
Enter your event title and upload an optional event logo.
Select the most relevant category and add keywords to help users find your event.
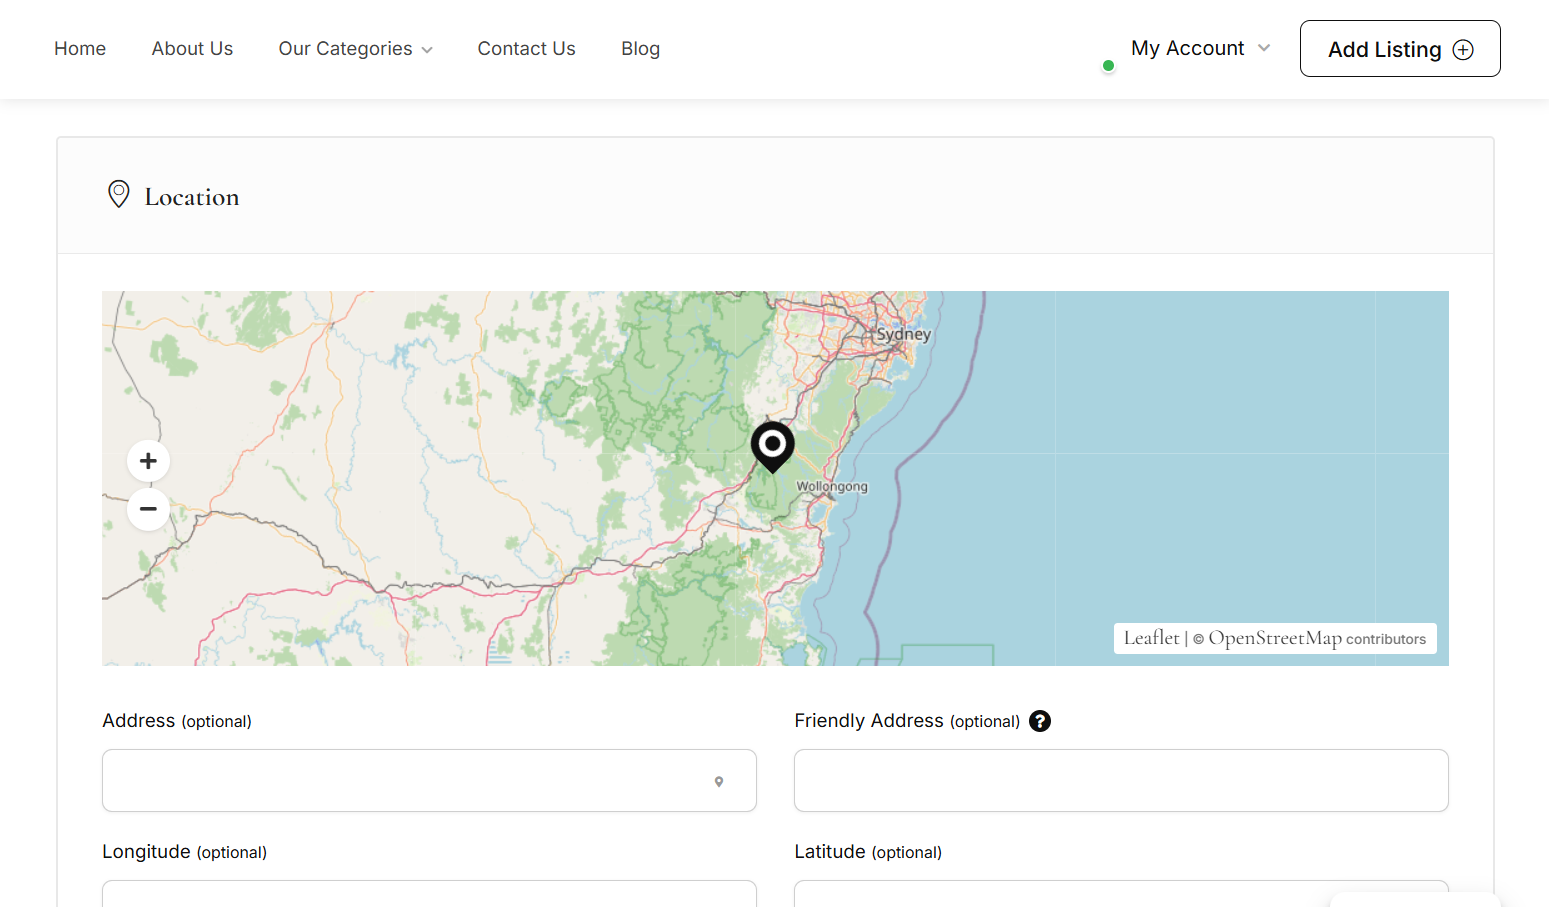
Location
Add the event address or venue.
You may also enter a friendly address or map coordinates if needed.
Gallery
Upload event images or posters.
Choose one image as the featured image and arrange the gallery as desired.
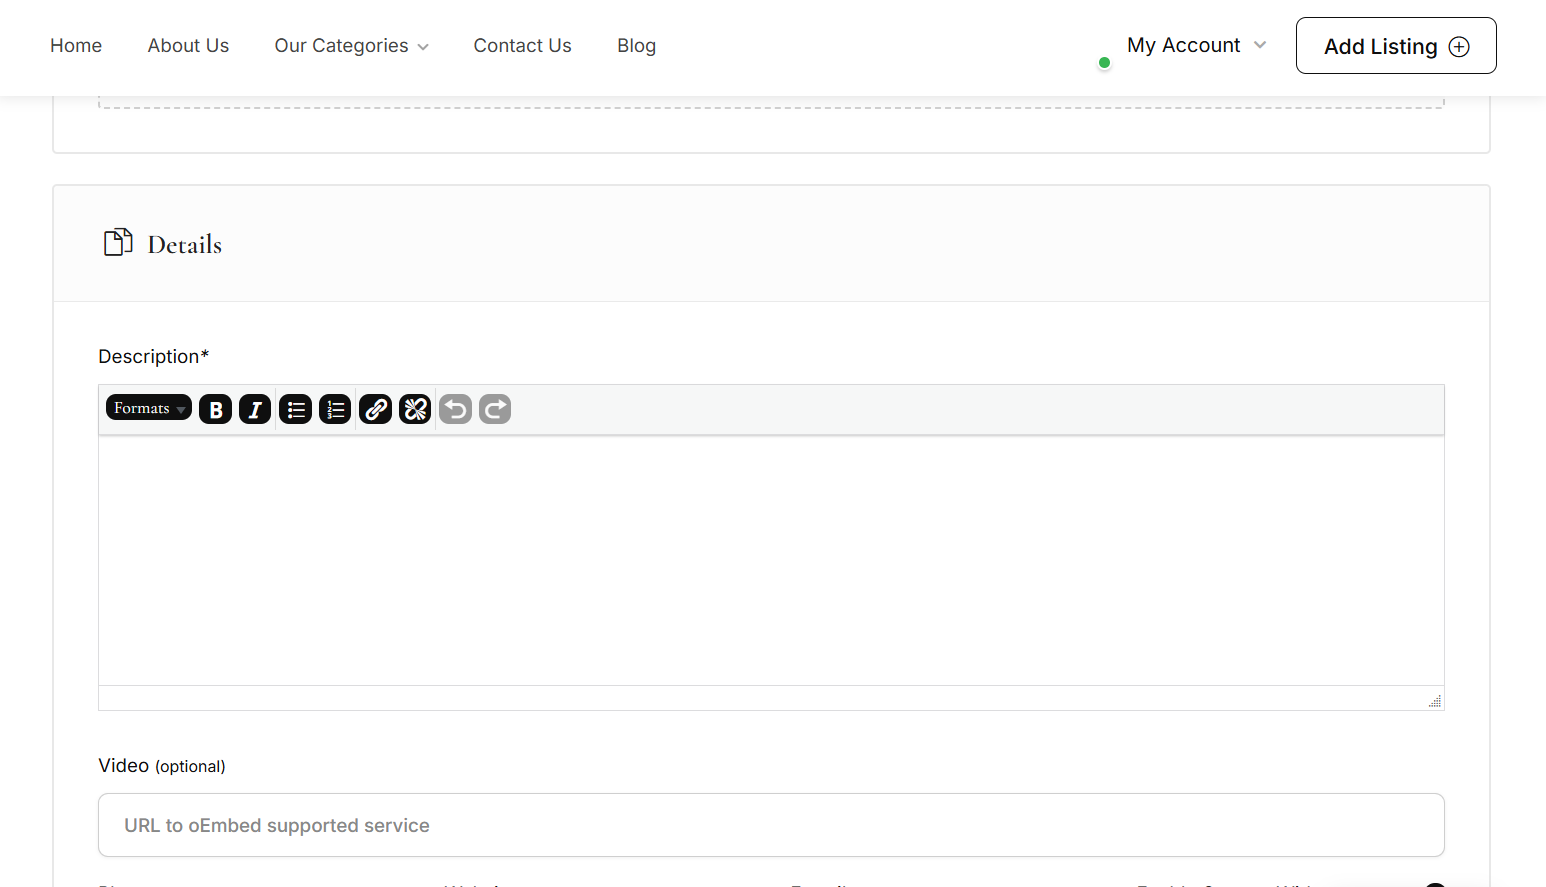
Event Details
Add a clear and engaging description of your event.
Optional fields include video links, contact details, and social media profiles.
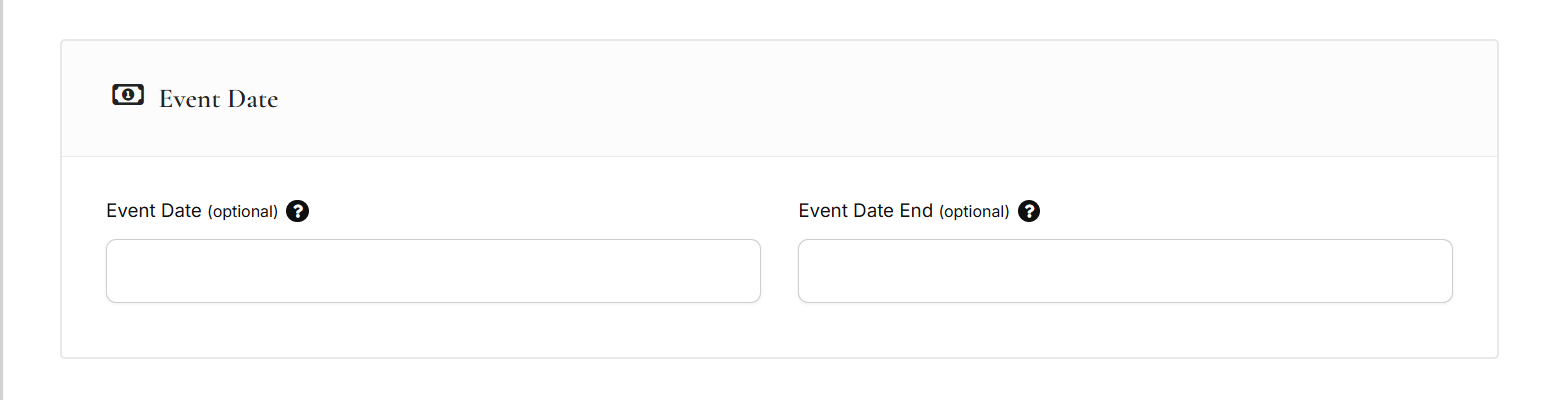
Date & Time
Set the event start date and, if applicable, the end date for multi-day events.
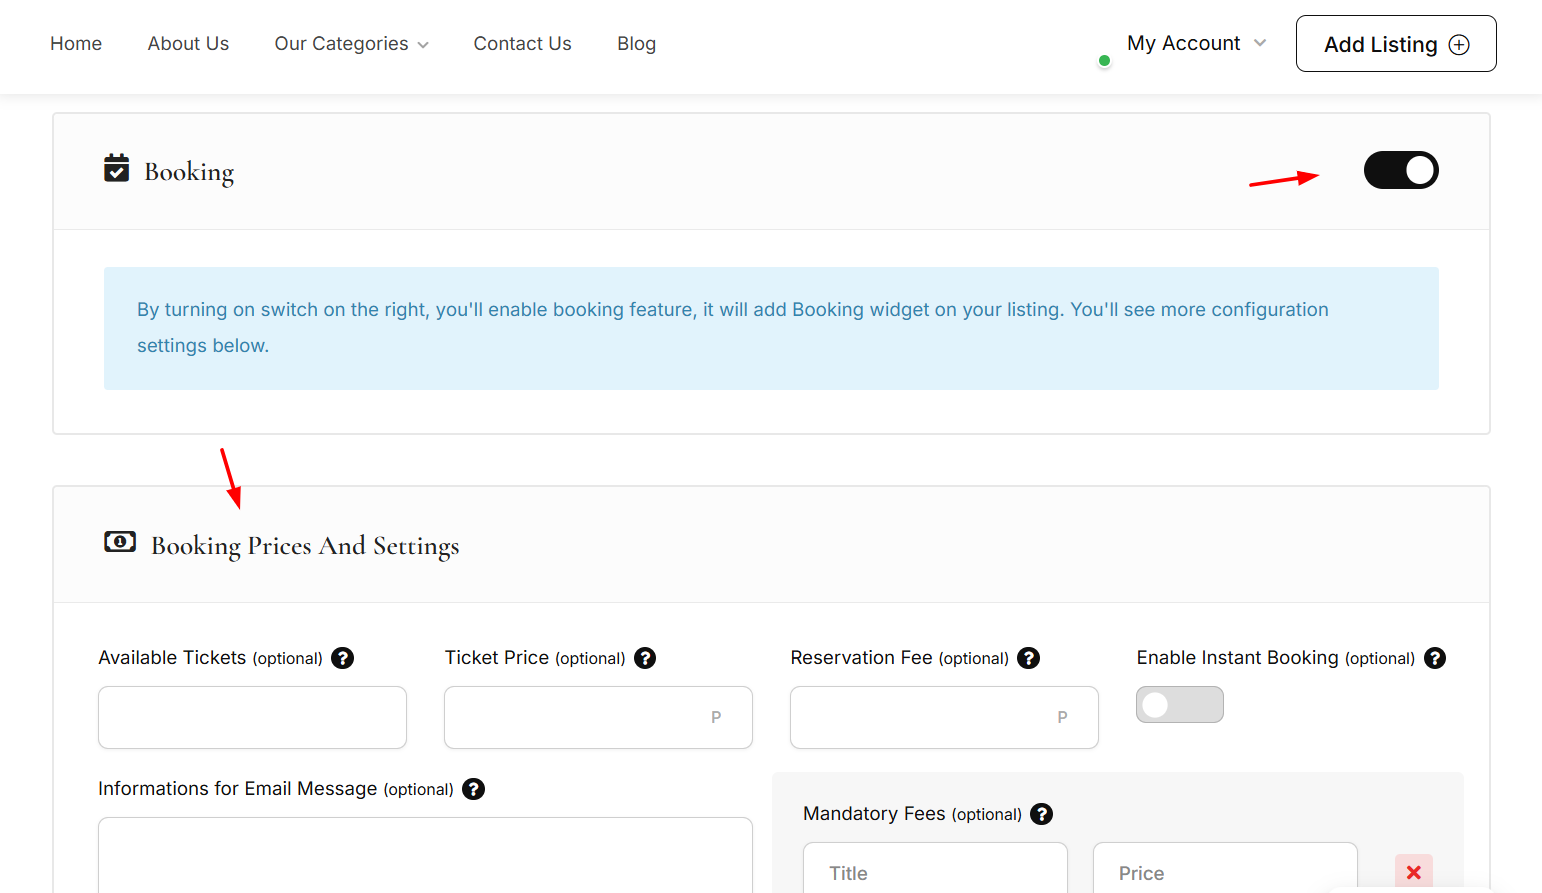
Booking & Tickets
Enable booking to sell tickets.
Set the ticket price, available quantity, and choose whether bookings require instant confirmation or admin approval.
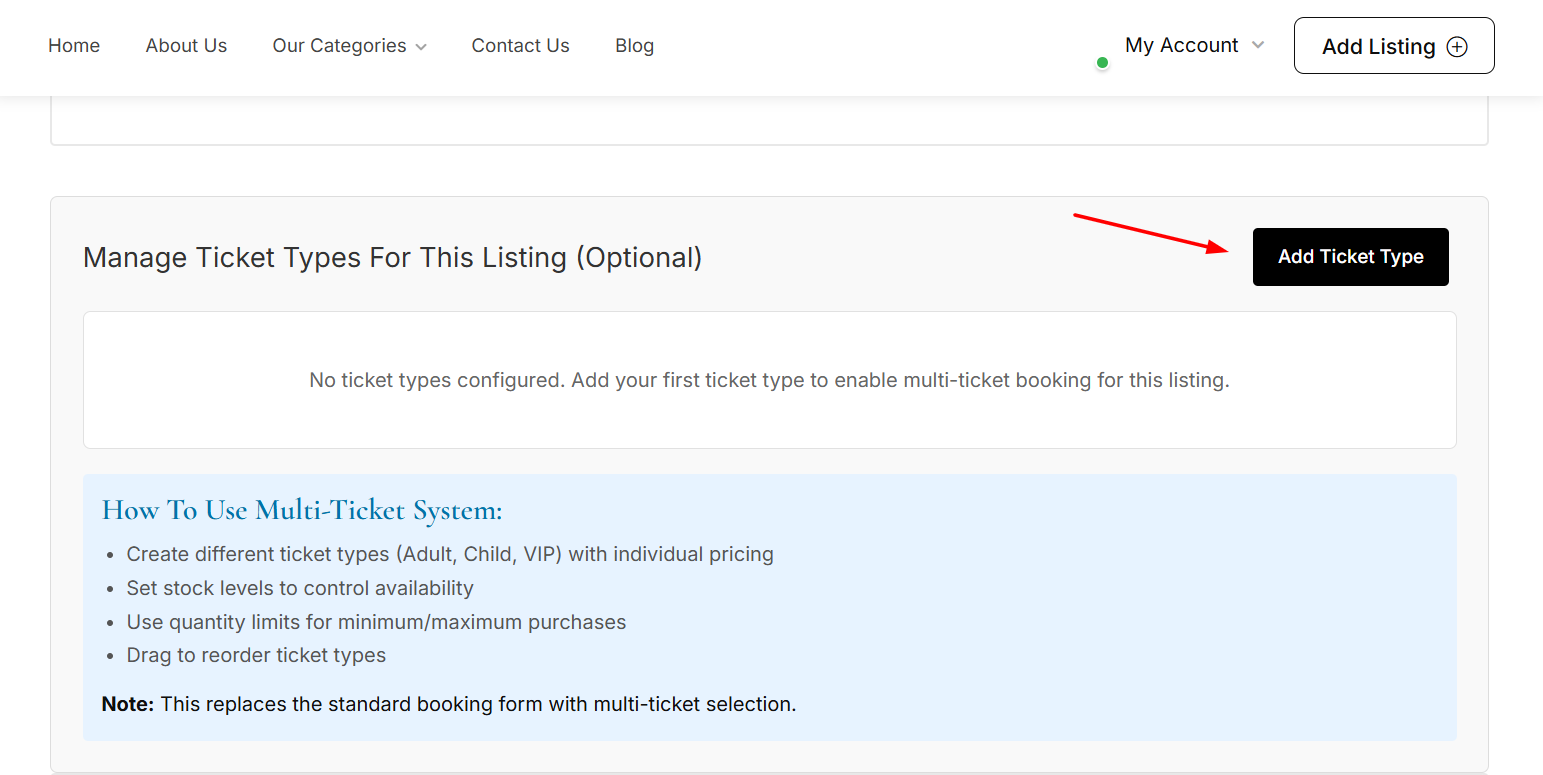
Multi-Ticket Options (Optional)
Only enable this if your event offers more than one ticket type (e.g. General, VIP, Child).
If your event has a single ticket price, leave this option disabled.
Review & Submit
Review all details carefully and submit your listing.
Once approved, your event will be published and available for bookings.

How to List a Service
Follow the steps below to create and publish a service listing on Browse Botswana.
Start: Access the Listing Form
Log in to your owner account and click the Add Listing button in the website header.
Select Service as the listing category.
Basic Information
Enter the service title and upload an optional logo (300 × 300 px recommended).
Choose the most relevant category and add keywords to improve discoverability.
Location
Add the service address or service area.
You may also include a friendly address, region, or map coordinates if required.
Gallery
Upload images that represent your service.
Select one image as the featured image and arrange the gallery as needed.
Service Details
Add a clear description explaining what you offer, how it works, and what clients can expect.
Optional fields include video links, contact details, and social media profiles.
Pricing Overview (Optional)
Set a minimum and maximum price range to give users an estimate.
Final pricing is configured in the booking section.
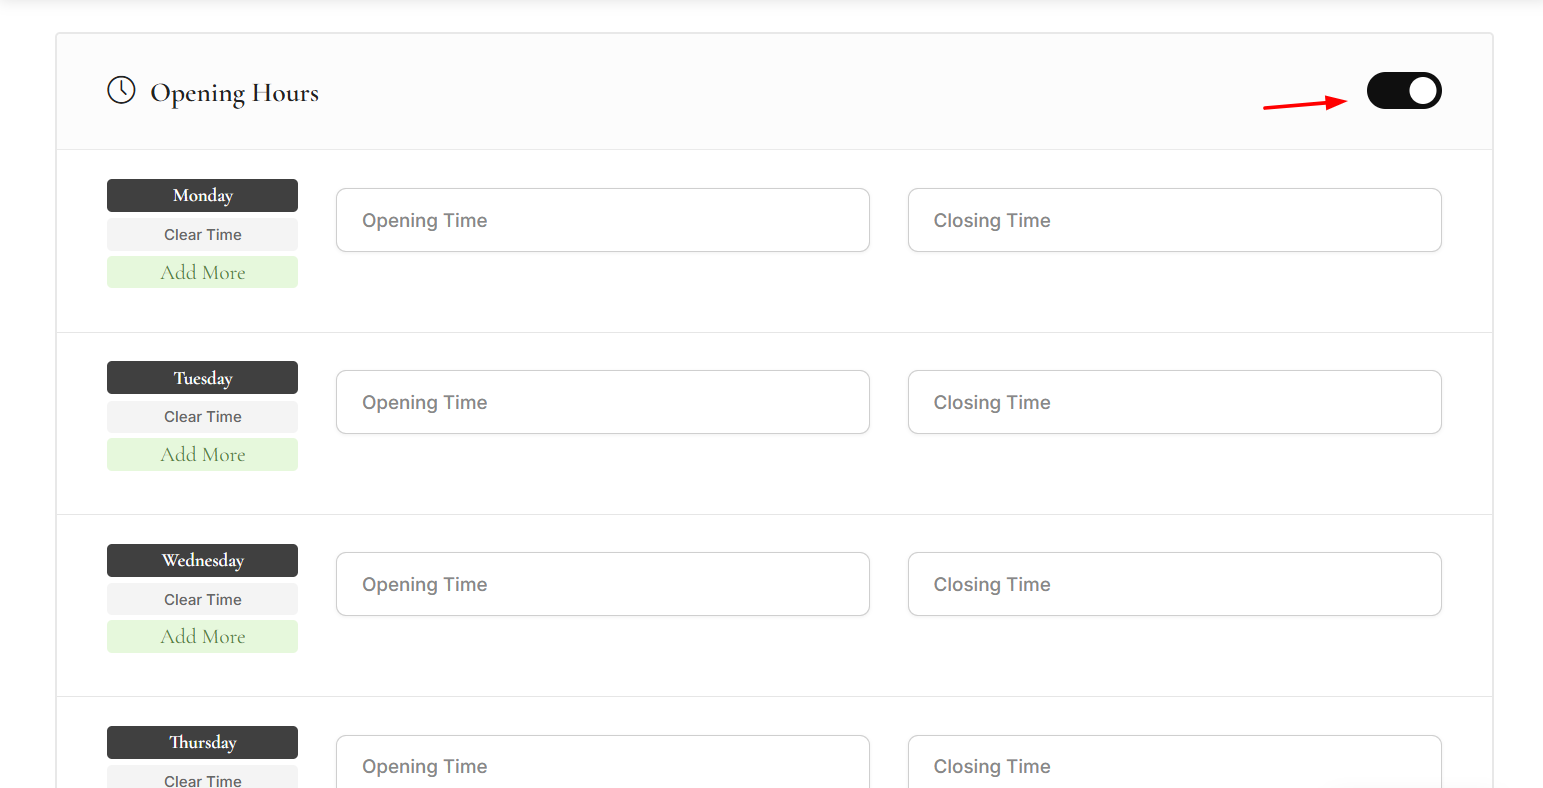
Opening Hours
Define your regular business hours if your service operates on a fixed schedule.
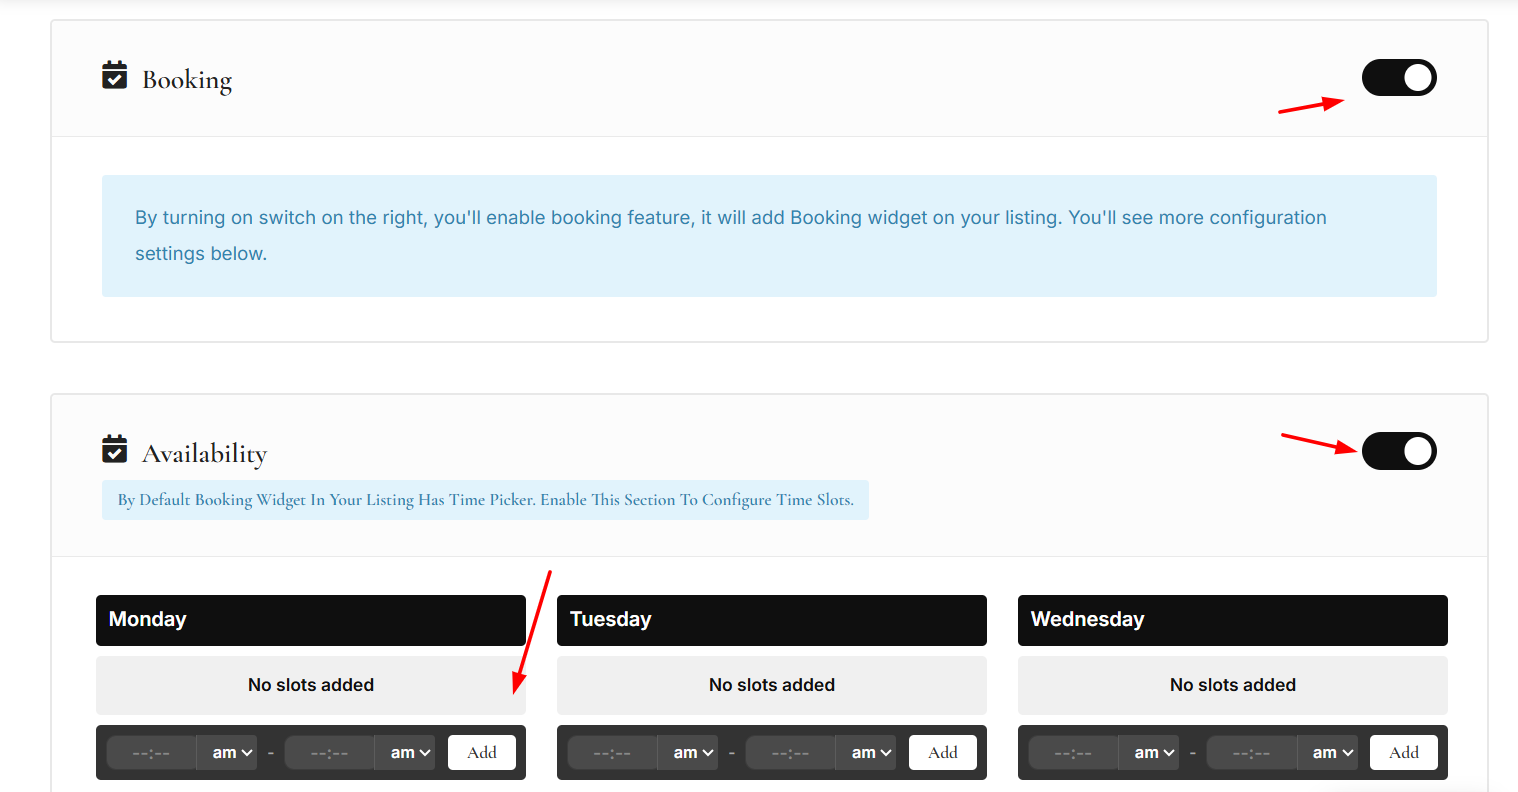
Booking & Availability
Enable booking to allow clients to schedule your service online.
Use Availability settings to define:
Days you are available
Time slots per day
Service duration
This is ideal for appointments, consultations, or time-based services.
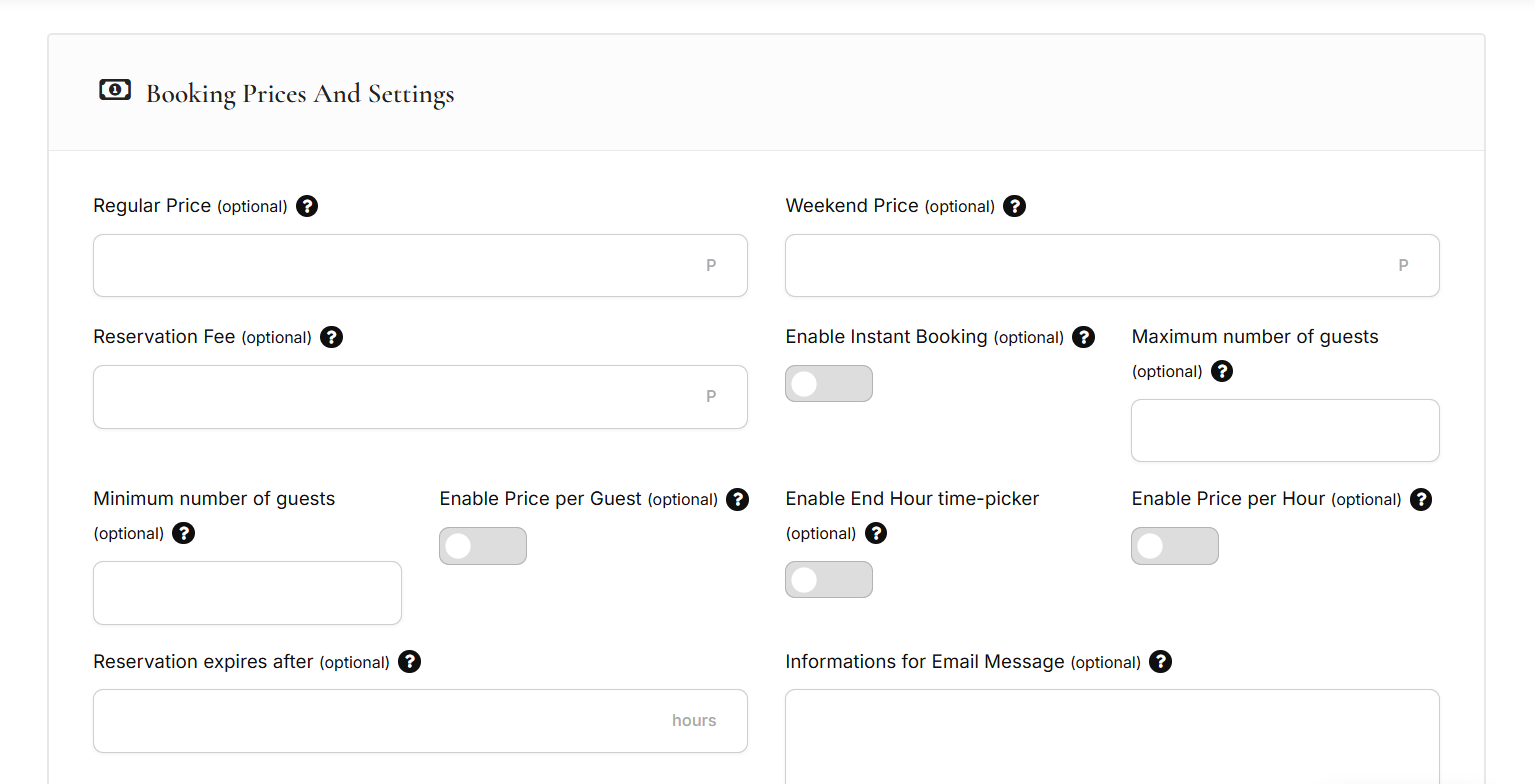
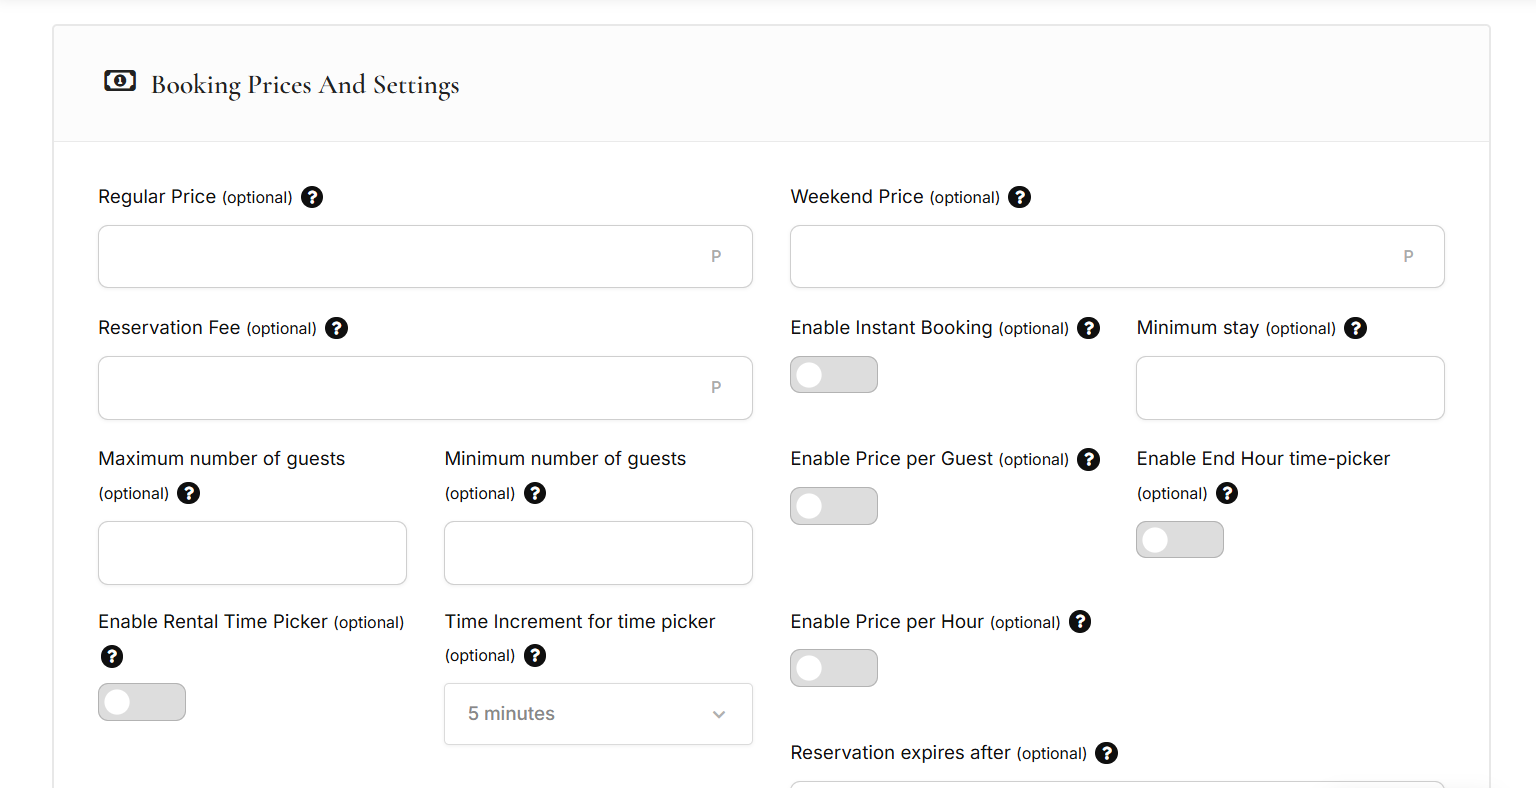
Pricing & Booking Settings
Configure how clients are charged:
Regular and weekend pricing
Price per guest or per hour (if applicable)
Reservation fee (optional)
Instant booking or admin approval
Booking expiration time
Multi-Option Pricing (Optional)
Enable this only if your service offers multiple pricing options (e.g. Basic, Premium, VIP).
If you charge a single price, leave this option disabled.
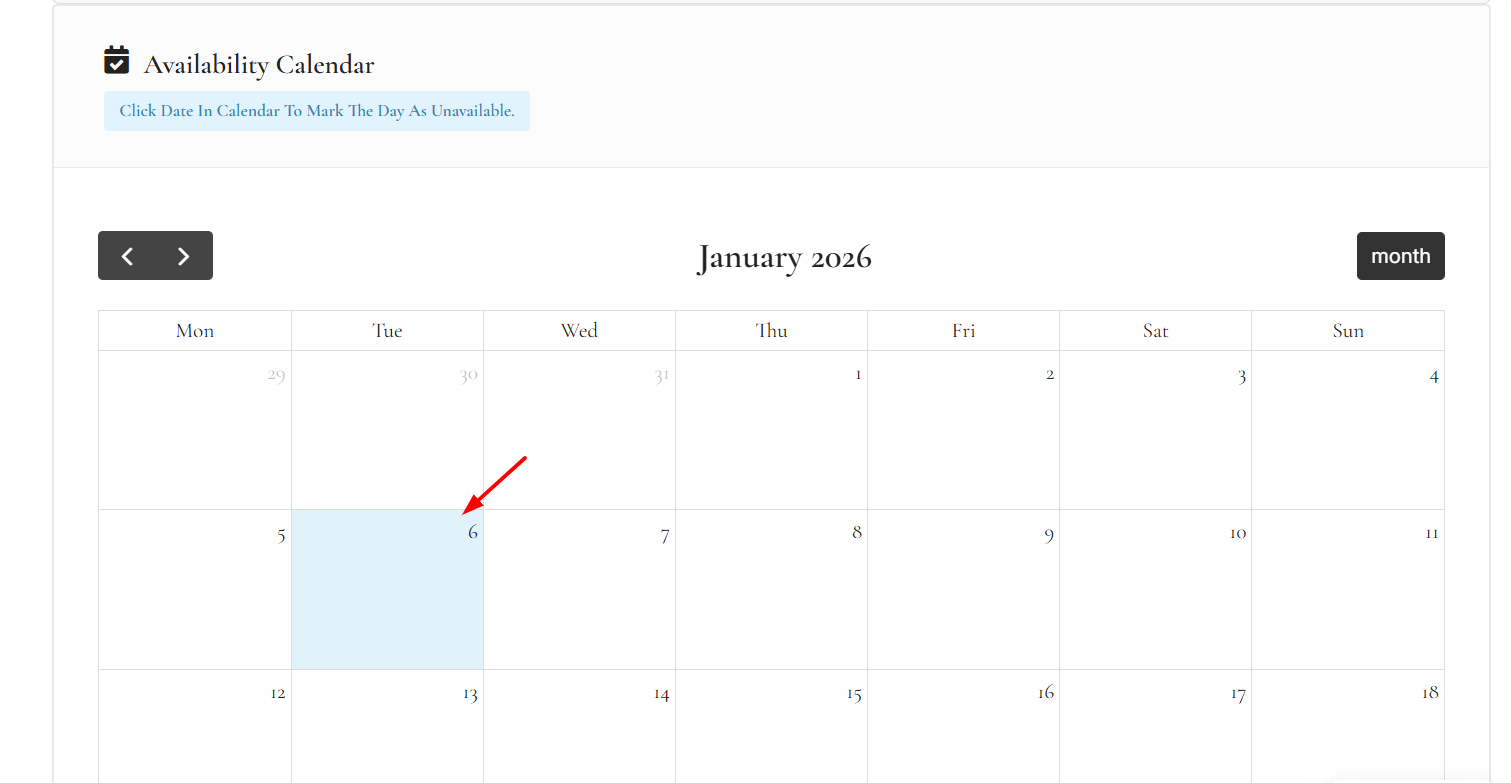
Availability Calendar
Use the calendar to mark unavailable dates such as holidays or fully booked days.
FAQ (Optional)
Add common questions to help users understand your service before booking.
Review & Submit
Preview your listing, confirm all details, and submit for approval.
Once approved, your service will be live and available for bookings.
After Publishing
Clients can book directly from your listing.
How to List a Stay
Follow the steps below to create and publish a stay listing on Browse Botswana.
Start Your Listing
Log in to your owner account and click the Add Listing button from the header to access your dashboard and begin creating a stay listing.
Basic Information
Add the listing title, upload a logo or featured image, choose a category, and include keywords or features if available.
Location
Enter the stay’s address and region. You may also add map details such as latitude, longitude, or Google Maps Place ID for accurate location display.
Gallery
Upload images of the stay. Select one image as the featured image and reorder the rest by dragging thumbnails.
Details
Add a clear description of the stay. You can optionally include a video, phone number, website, email, and social media links.
Pricing
Set minimum and maximum price ranges. You may add bookable services, one-time fees, or pricing categories if required.
Opening Hours
Define availability hours for each day and select the appropriate listing timezone if needed.
Booking
Enable booking to allow guests to reserve the stay. Configure pricing, guest limits, minimum stay, instant booking, and other booking preferences.
Availability Calendar
Use the calendar to mark specific dates as unavailable.
Additional Settings
Add FAQs, mandatory fees, or coupon settings to provide complete booking information.
Publish
Review all details and submit or publish your listing when ready.
How to Integrate Airbnb
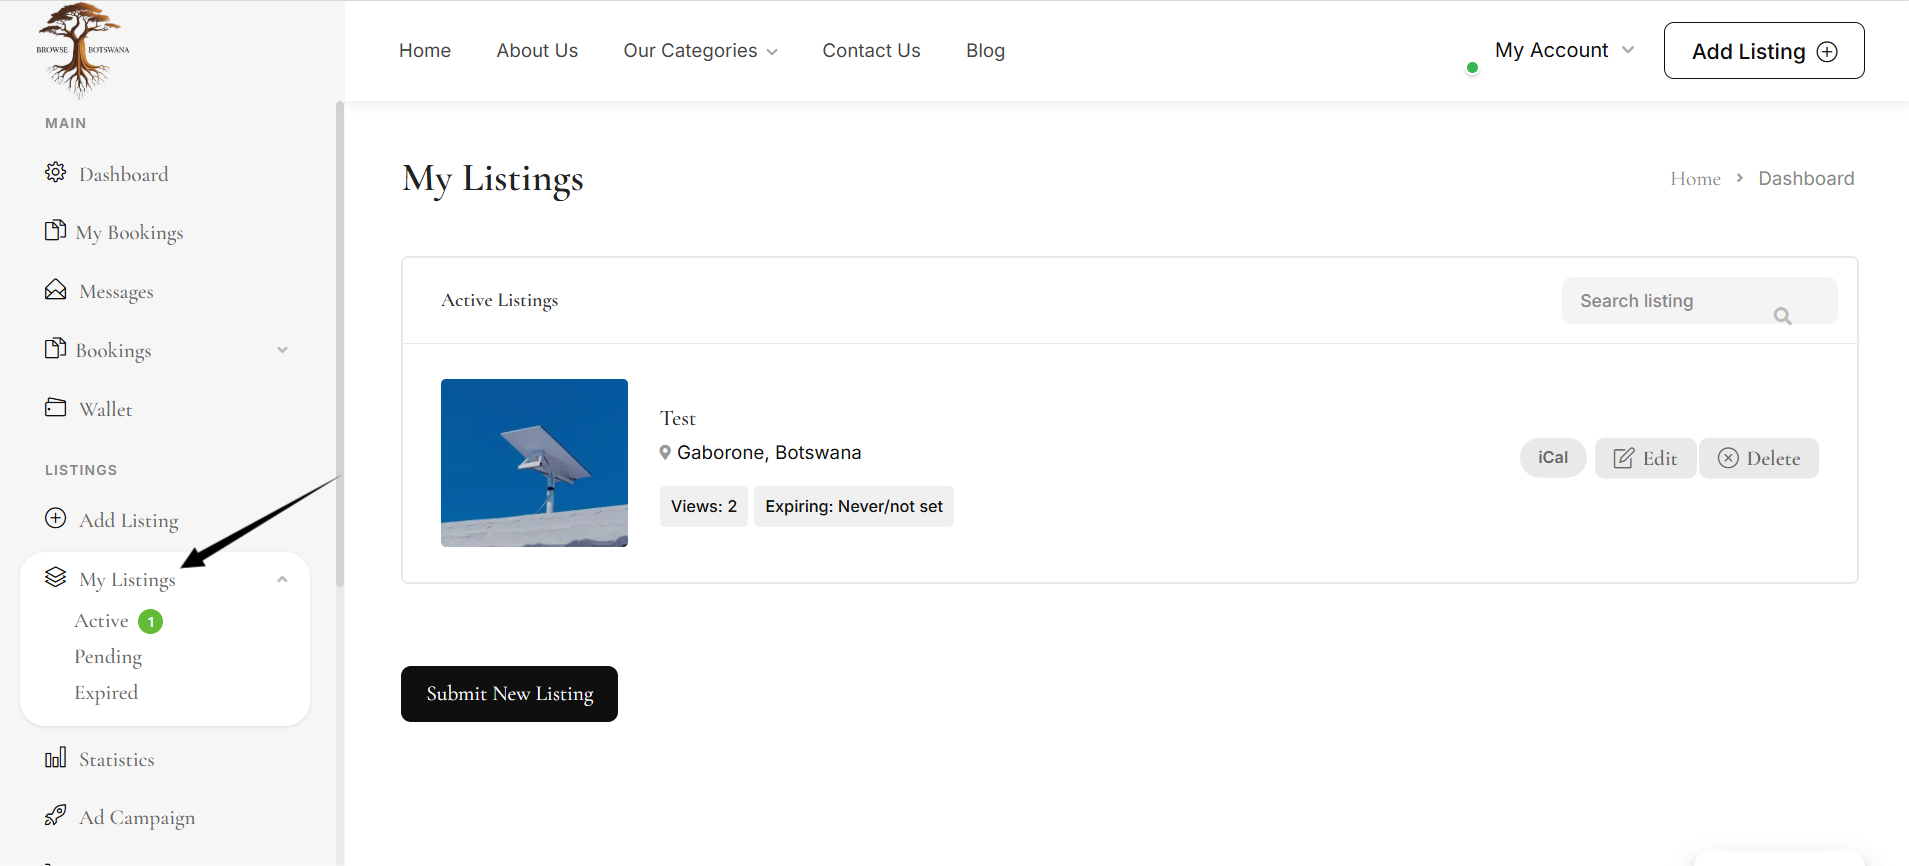
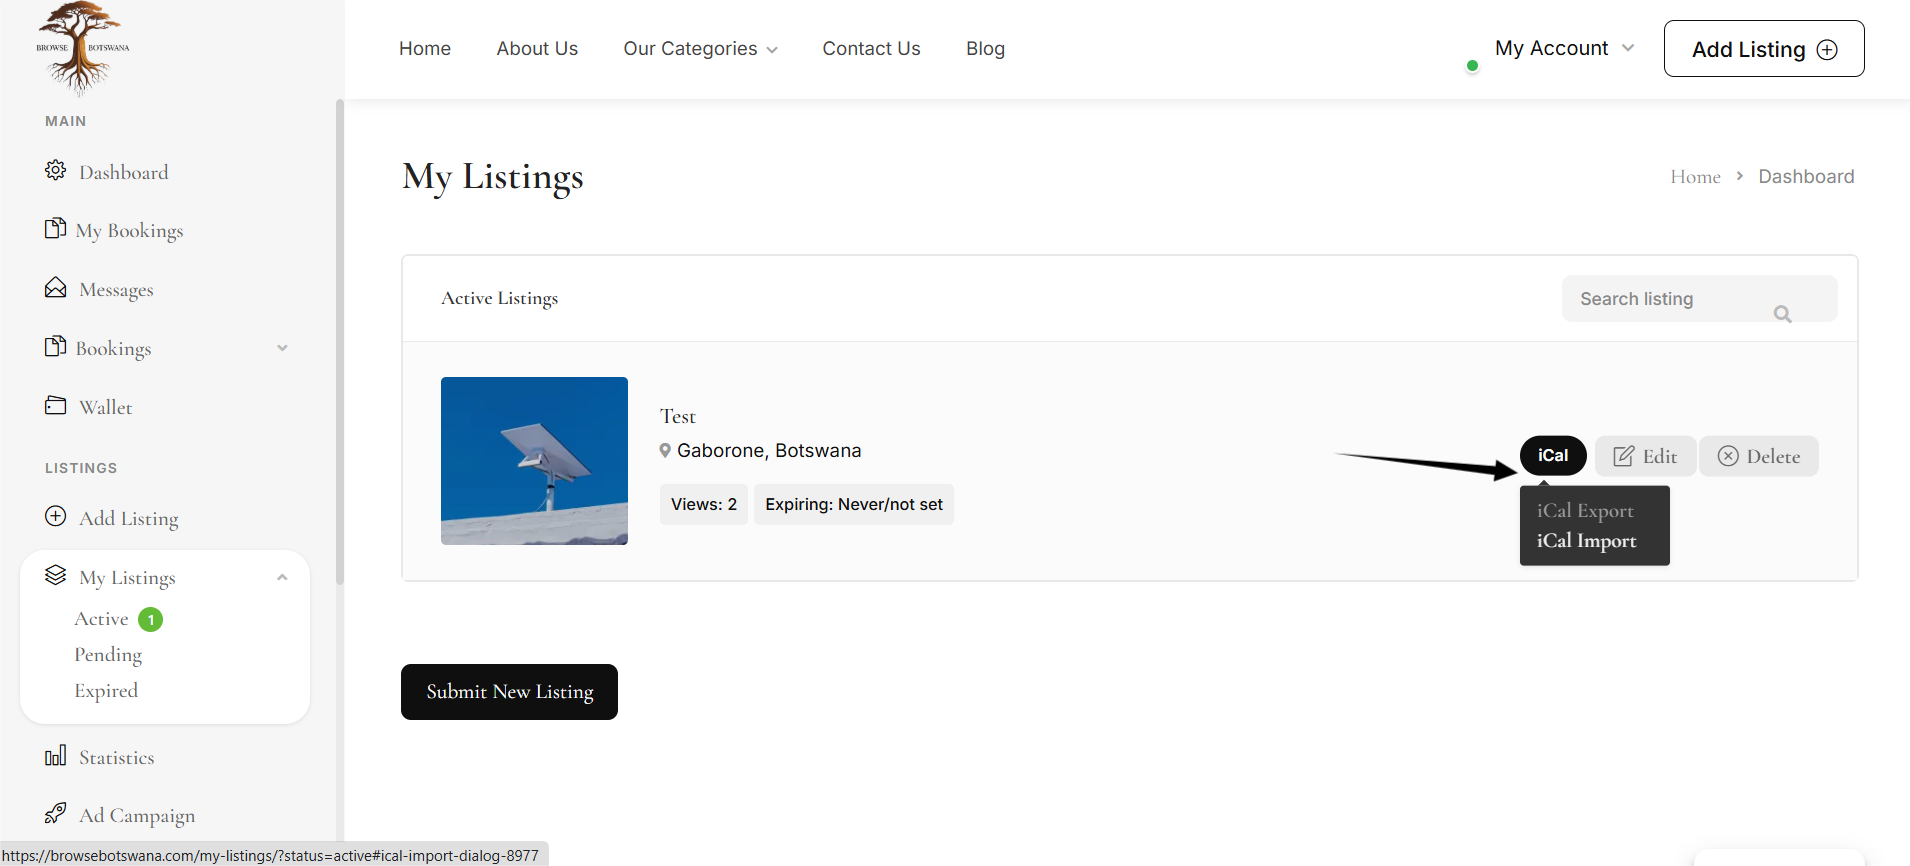
Go to Your Listing Dashboard
Go to Listings > Click on My Listings. Here you will see all the listings you have created inside Listeo.
Hover on the iCal Option
Find the listing you want to connect with Airbnb. Hover your mouse over that listing. Hover on the iCal option. Click on iCal Import. This allows you to import bookings from external platforms like Airbnb.
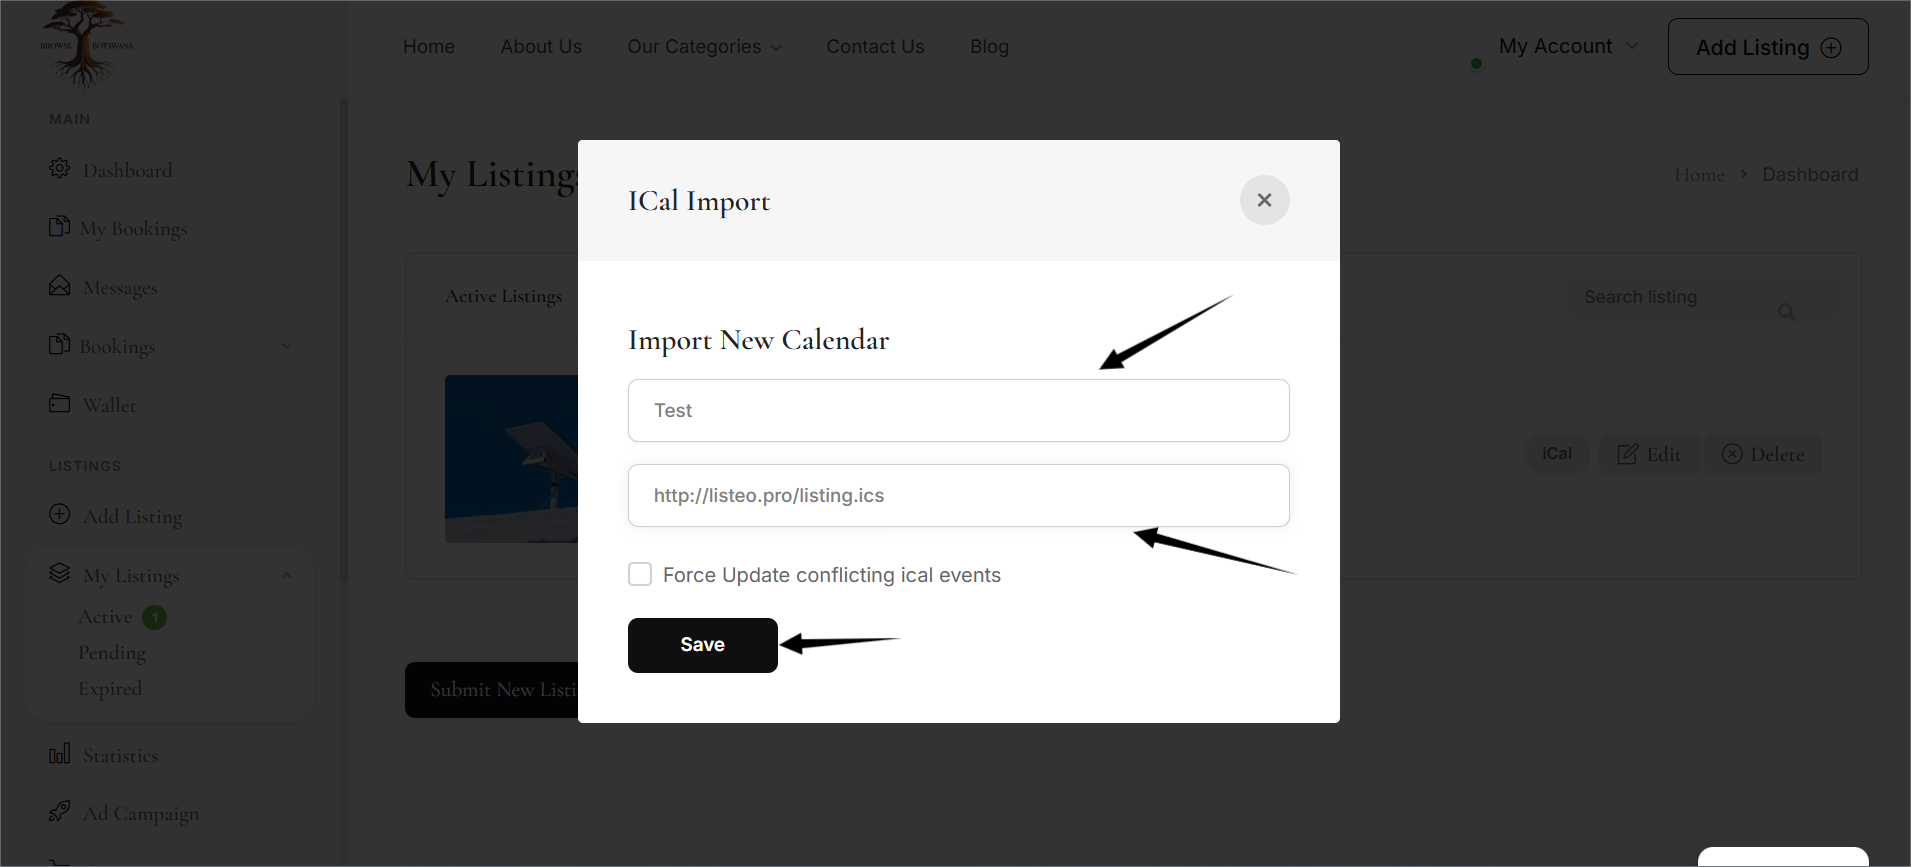
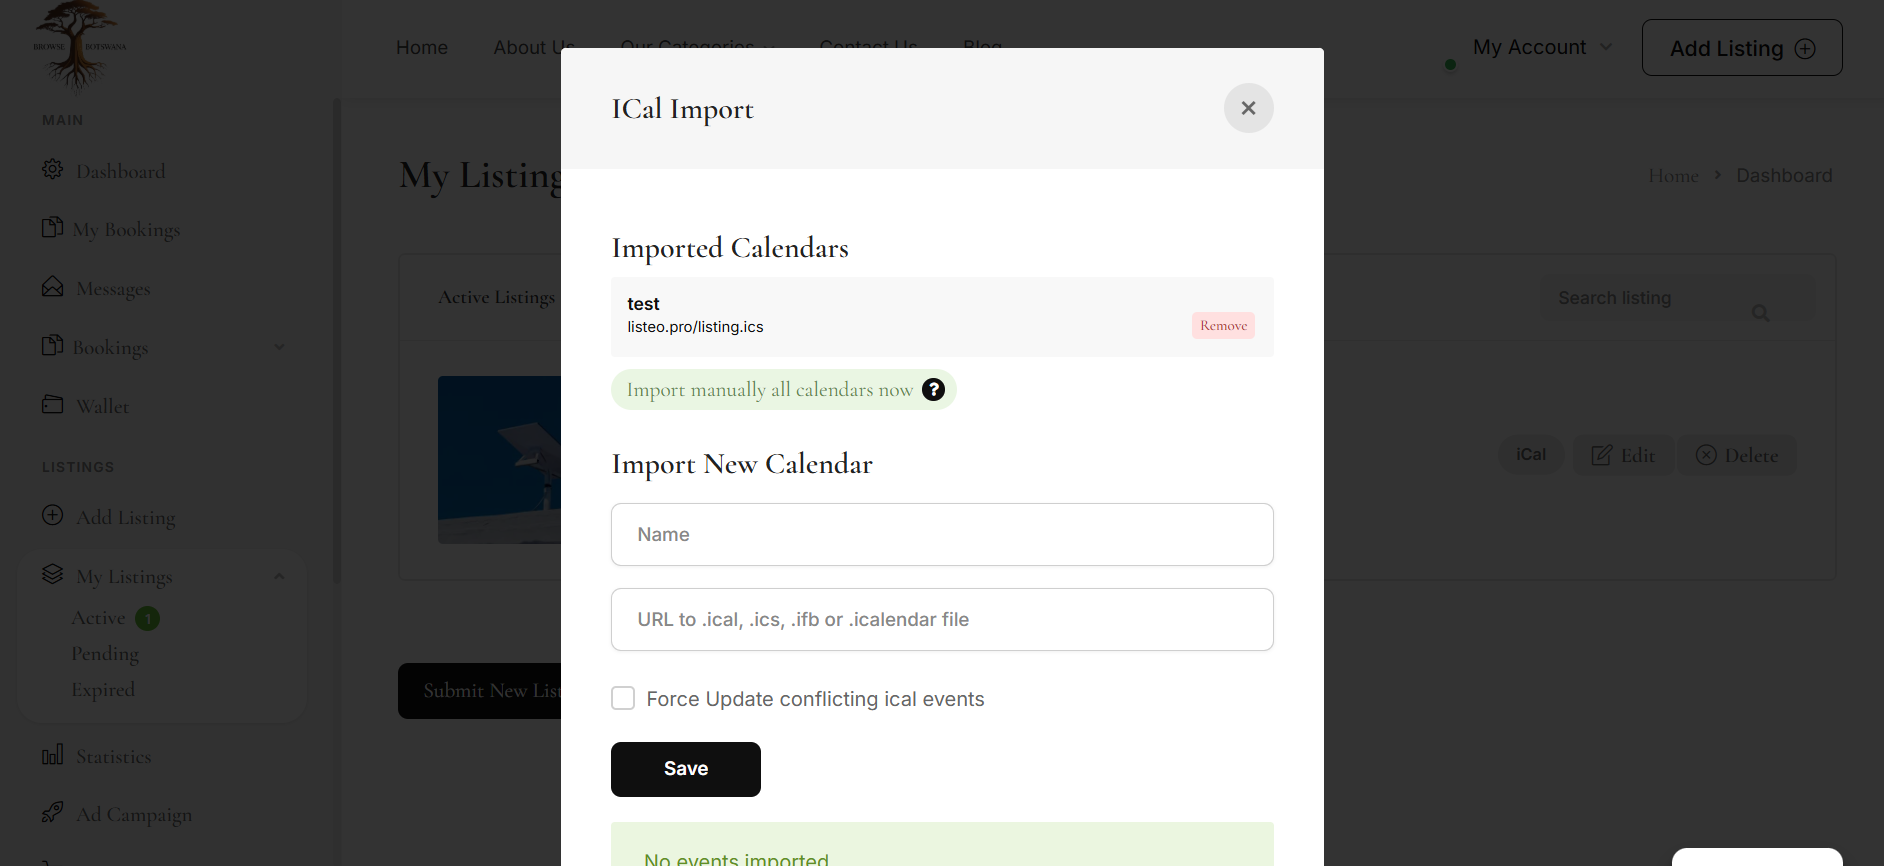
Get iCal URL from Airbnb
Now go to your Airbnb account. Go to the host dashboard. Click on Listings. Select the property you want to sync. Go to Availability. Scroll down to Sync Calendars. Click Export Calendar. Copy the iCal URL. Add a name (for example: Airbnb Calendar). Paste the copied Airbnb iCal URL into the URL field. Click the Save button. Now Airbnb bookings will automatically sync with Listeo.
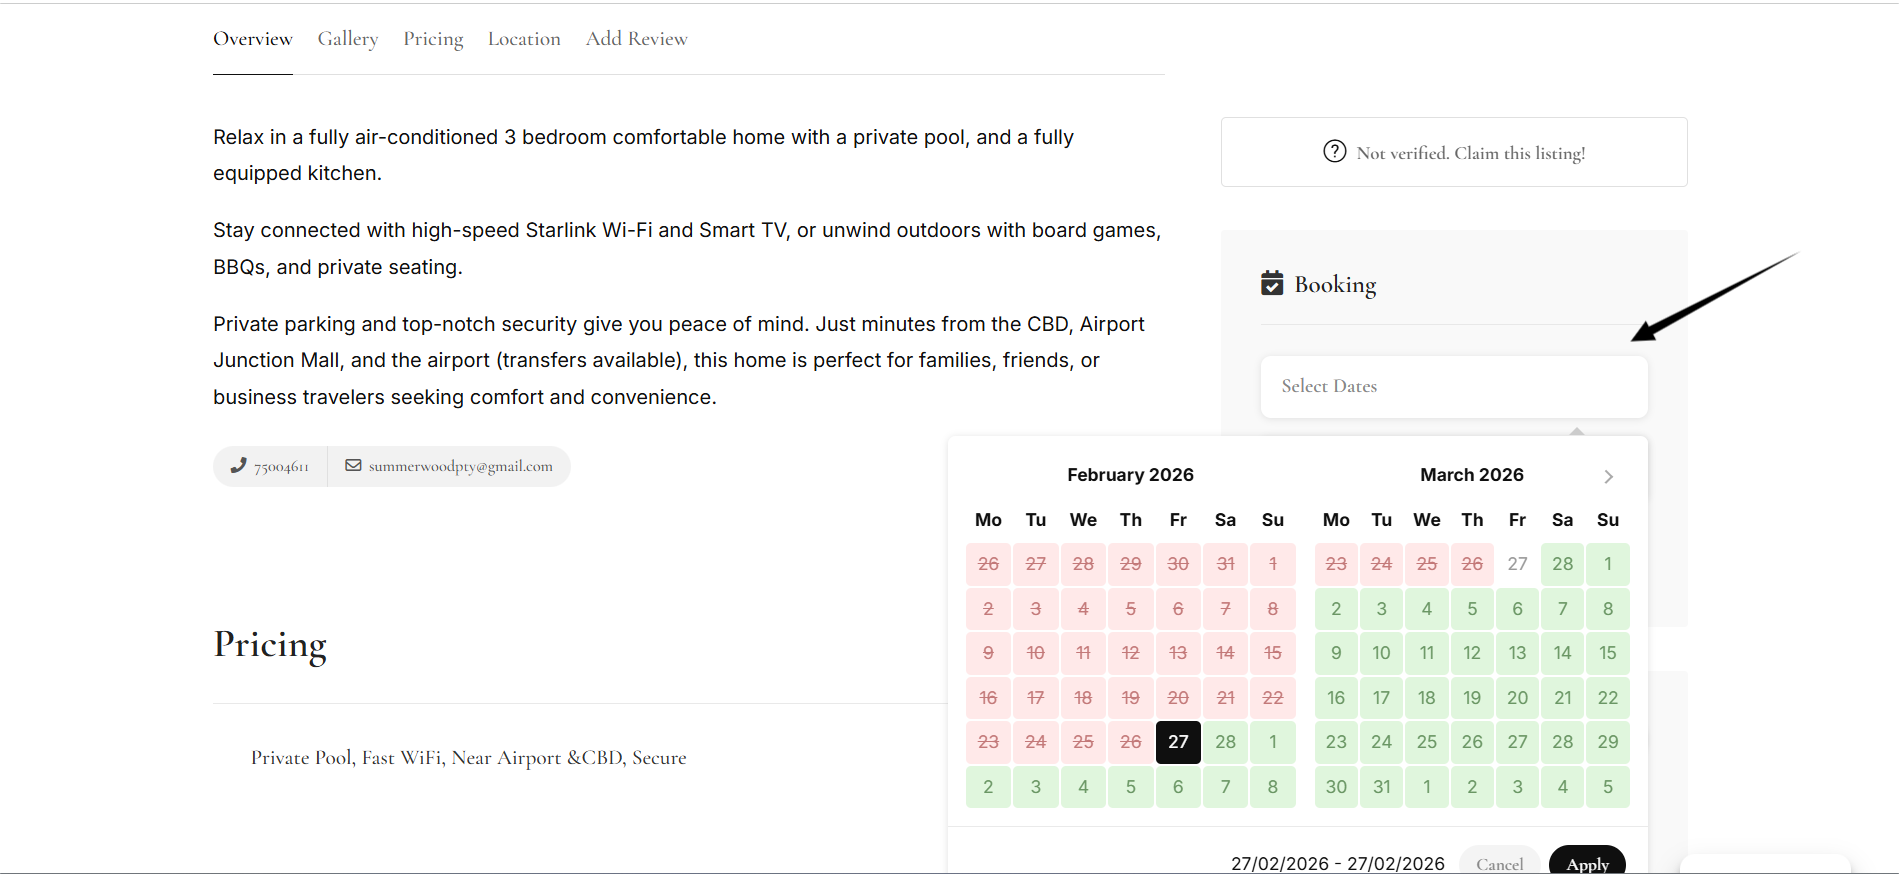
Verify Airbnb Integration
Go back to My Listings. Open your listing. Check the calendar.
How to Add a Product to Your Listing
Step 1: Create a Vendor Account
Before adding products, you must have a Vendor Account.
To get one, please contact the Site Administrator.
Once your vendor account is approved, you will be able to access your dashboard.
Step 2: Go to Products
From your dashboard:
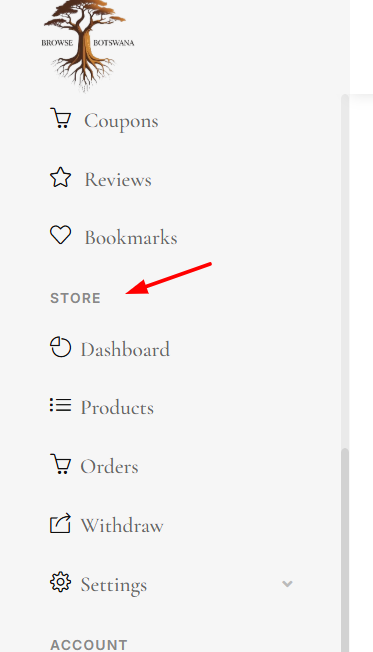
Click on Store
Then select Products
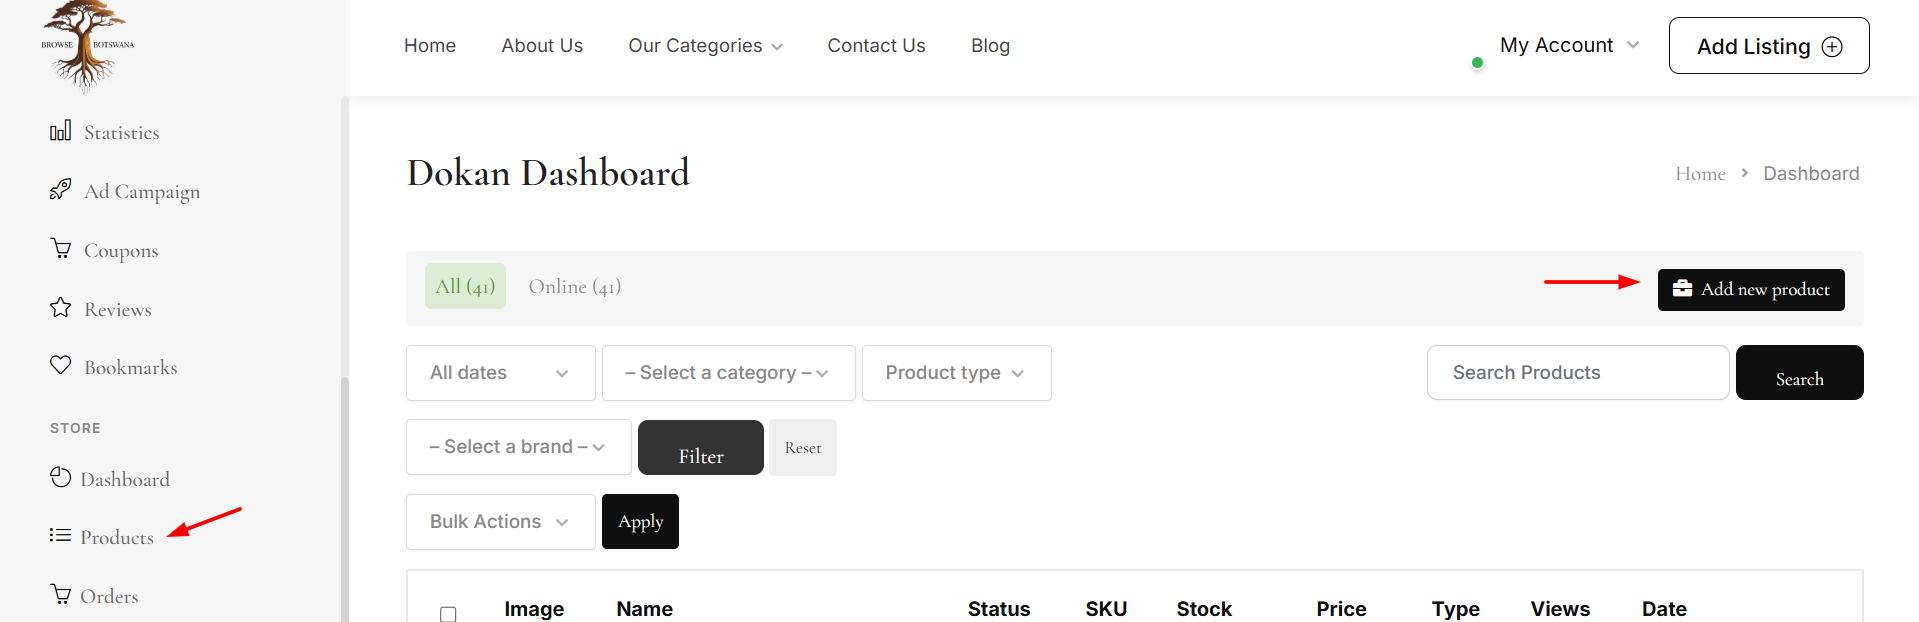
You will see a page displaying all your existing products.
On this page:
You can view your existing products
You can delete products if needed
To add a new product, click the “Add New Product” button
Step 3: Add Product Details
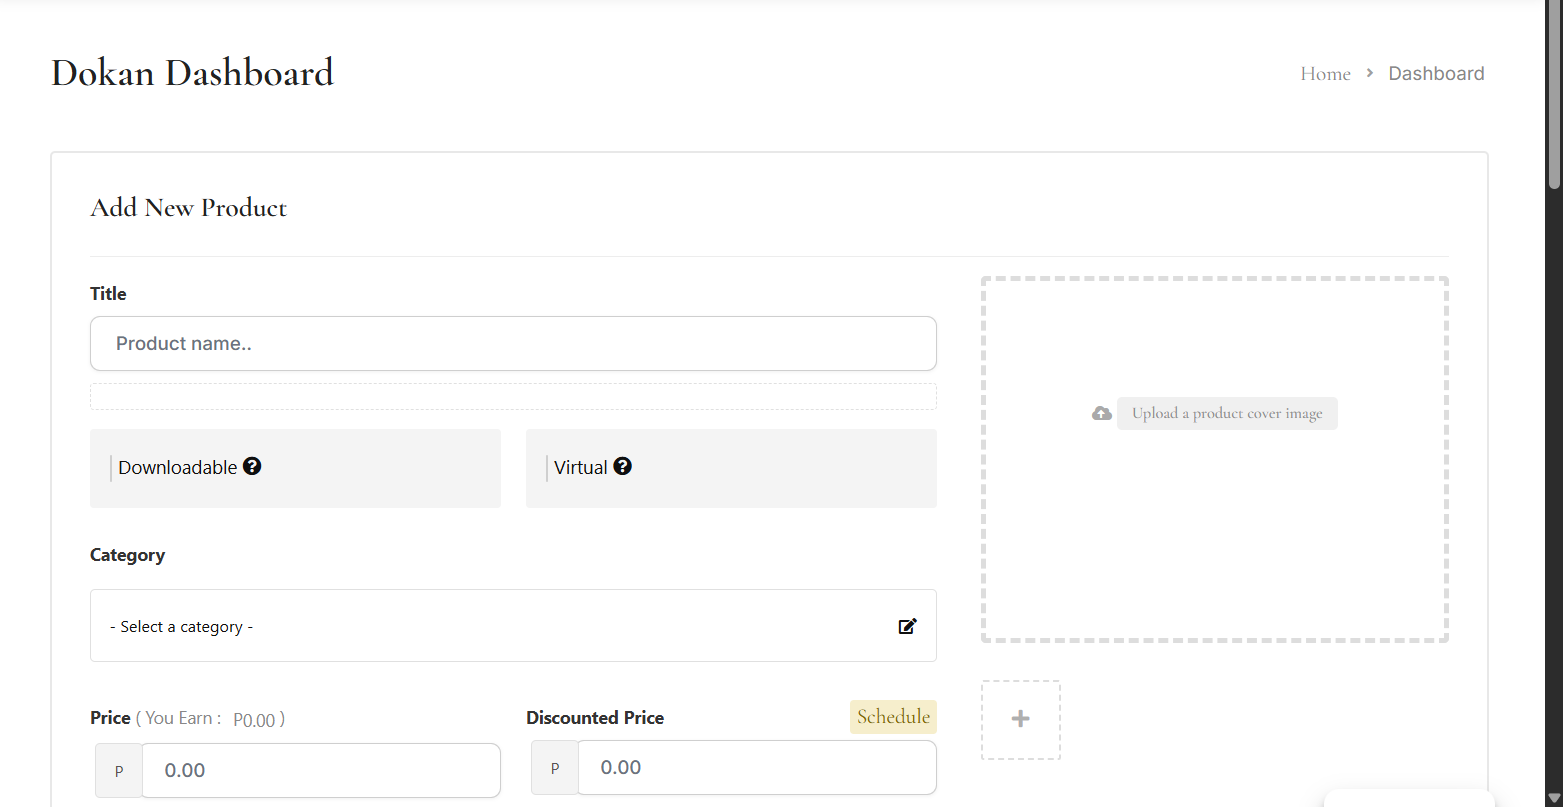
After clicking Add New Product, a new page will open where you can enter product details.
You need to fill in:
Product Title
Product Images
Suitable Category
Price
You may skip optional fields such as:
Tags
Brands
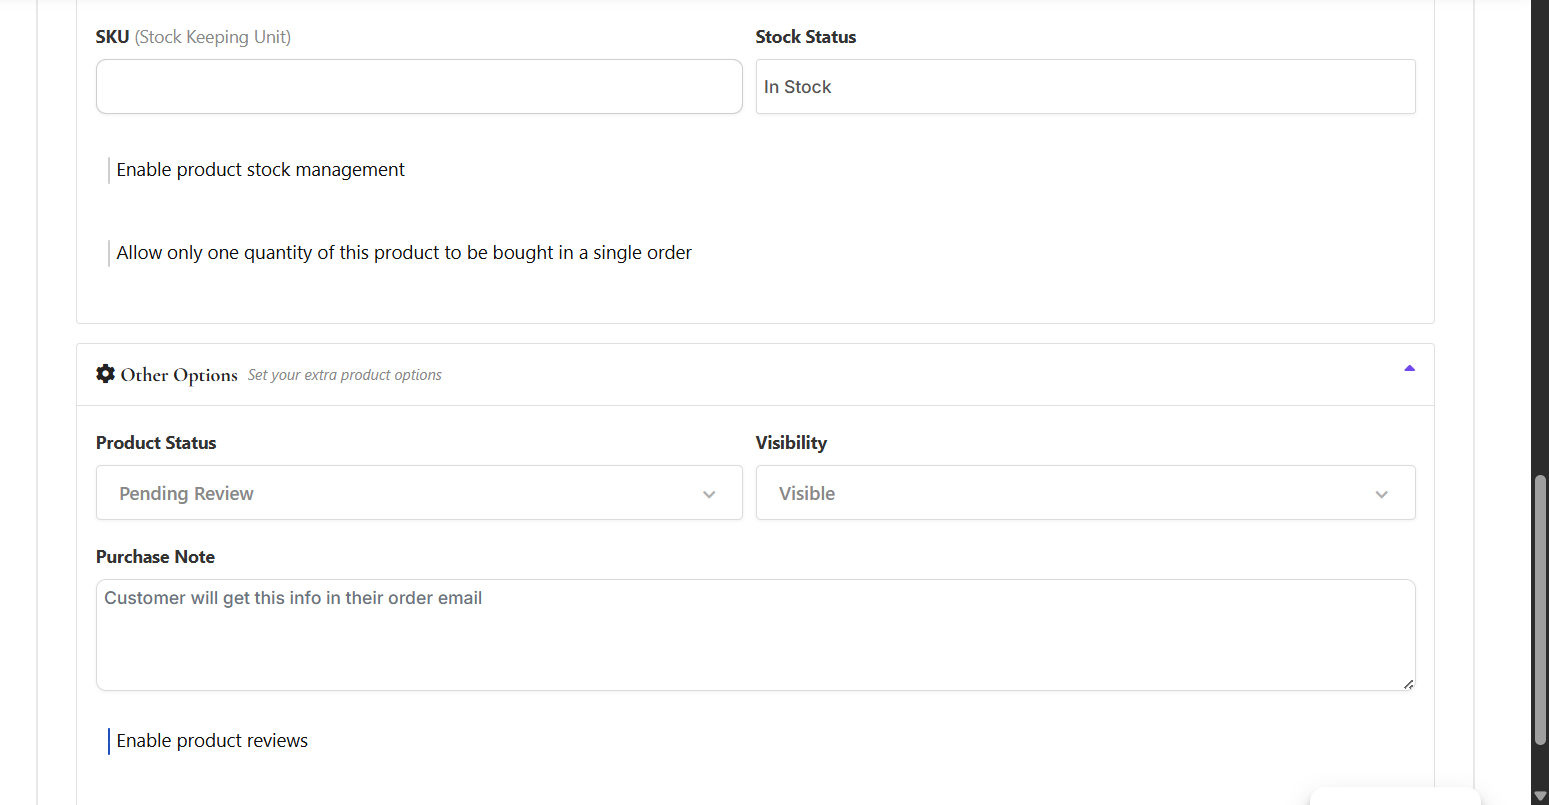
Stock Unit
Additional Information
These fields are not required.

Step 4: Adding a Downloadable Product (Optional)
If you want to sell a downloadable product:
Click on the Downloadable option.
A new field will appear.
Upload your PDF file (or other digital file).
Once the customer purchases the product, they will be able to download the file.
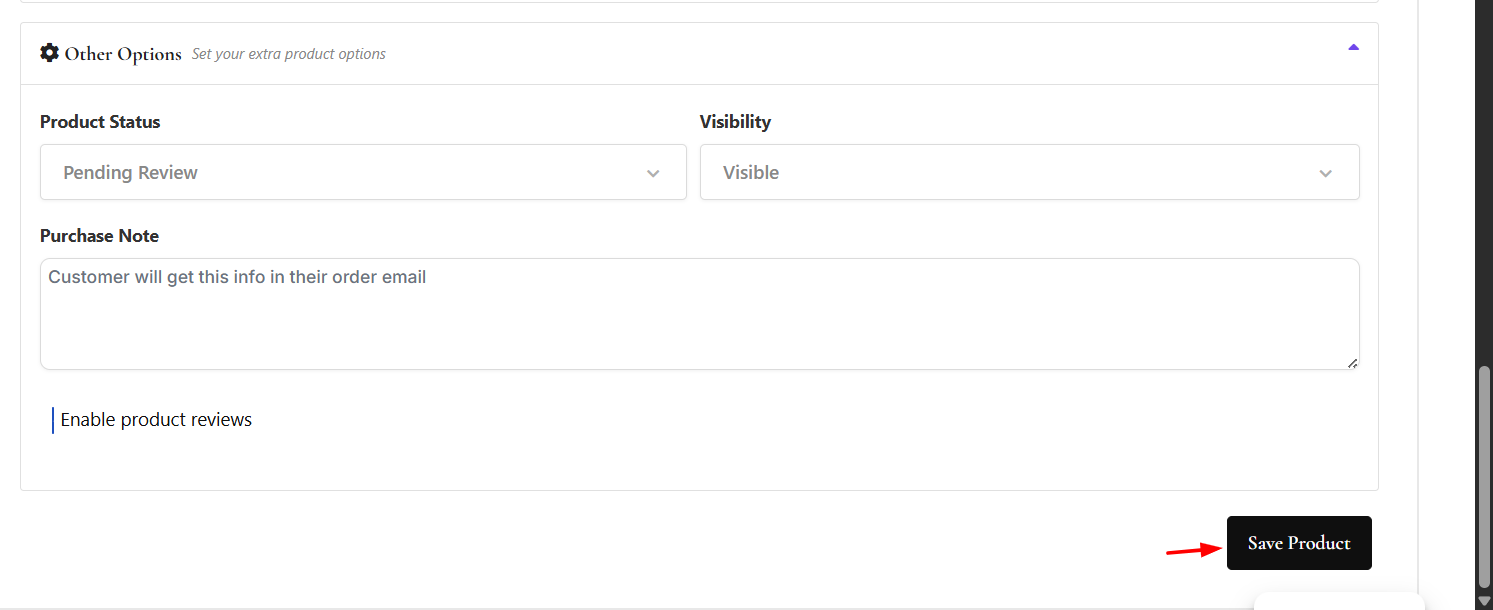
Step 5: Save the Product
After filling in all required details:
Click the Save Product button at the bottom of the page.
You will receive a notification confirming successful submission.
Please note:
Your product will not be visible immediately. You must wait for the Admin to approve your product.

Adding the Product to Your Existing Listing
Once the admin approves your product, you can add it to one of your listings.
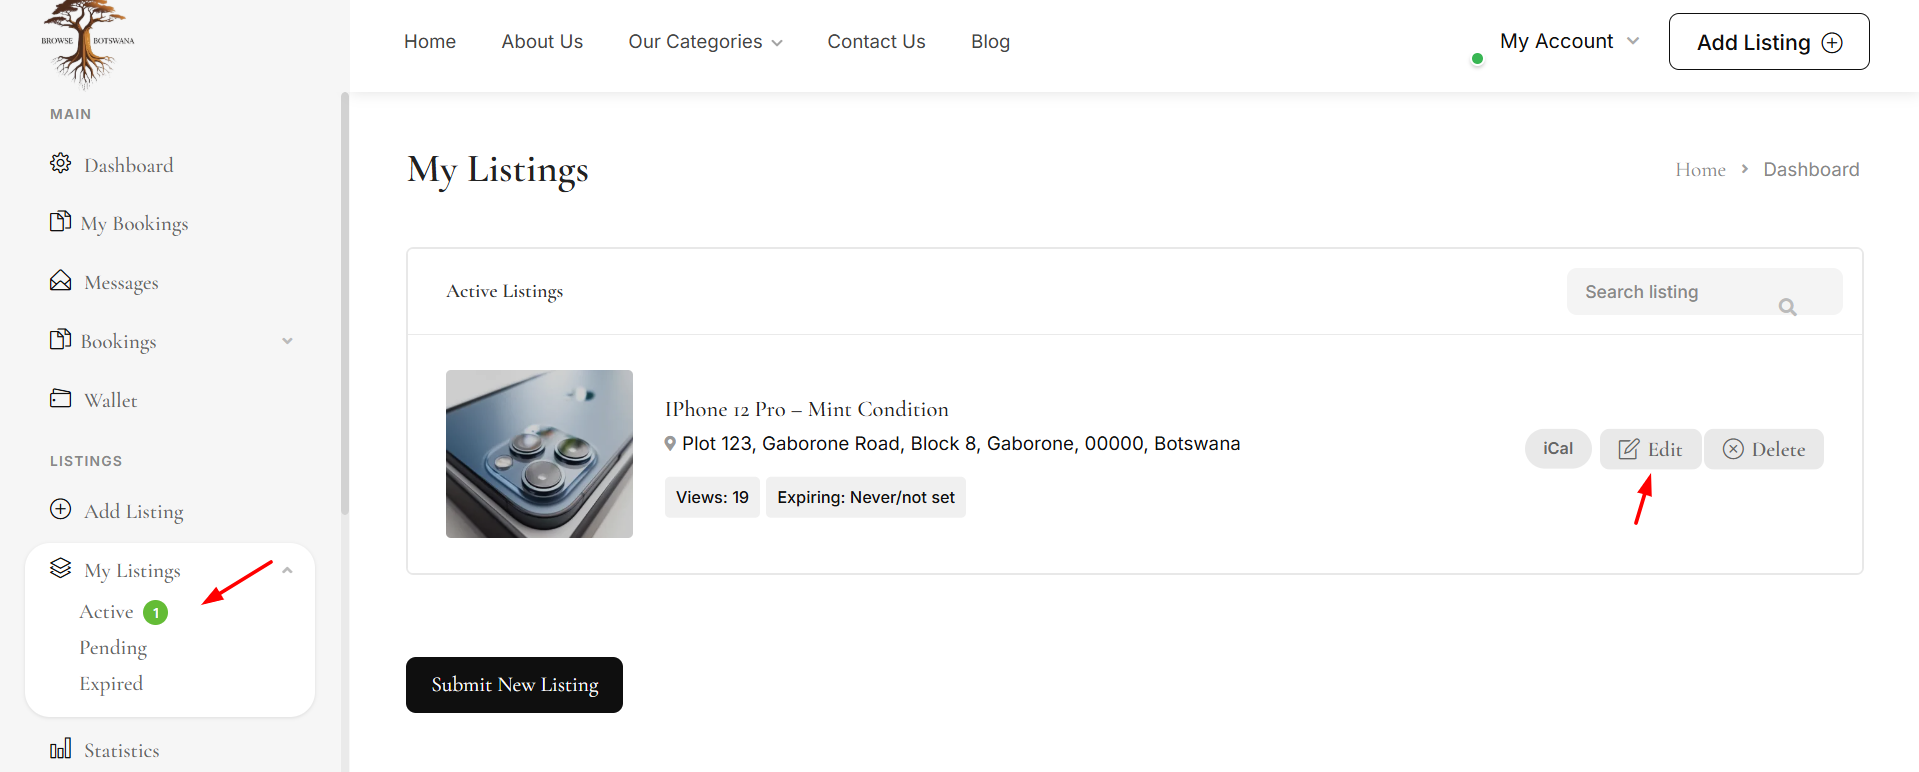
Step 6: Go to My Listings
From your dashboard:
Click on My Listings
You will see all your existing listings
Click Edit on the listing where you want to display the product
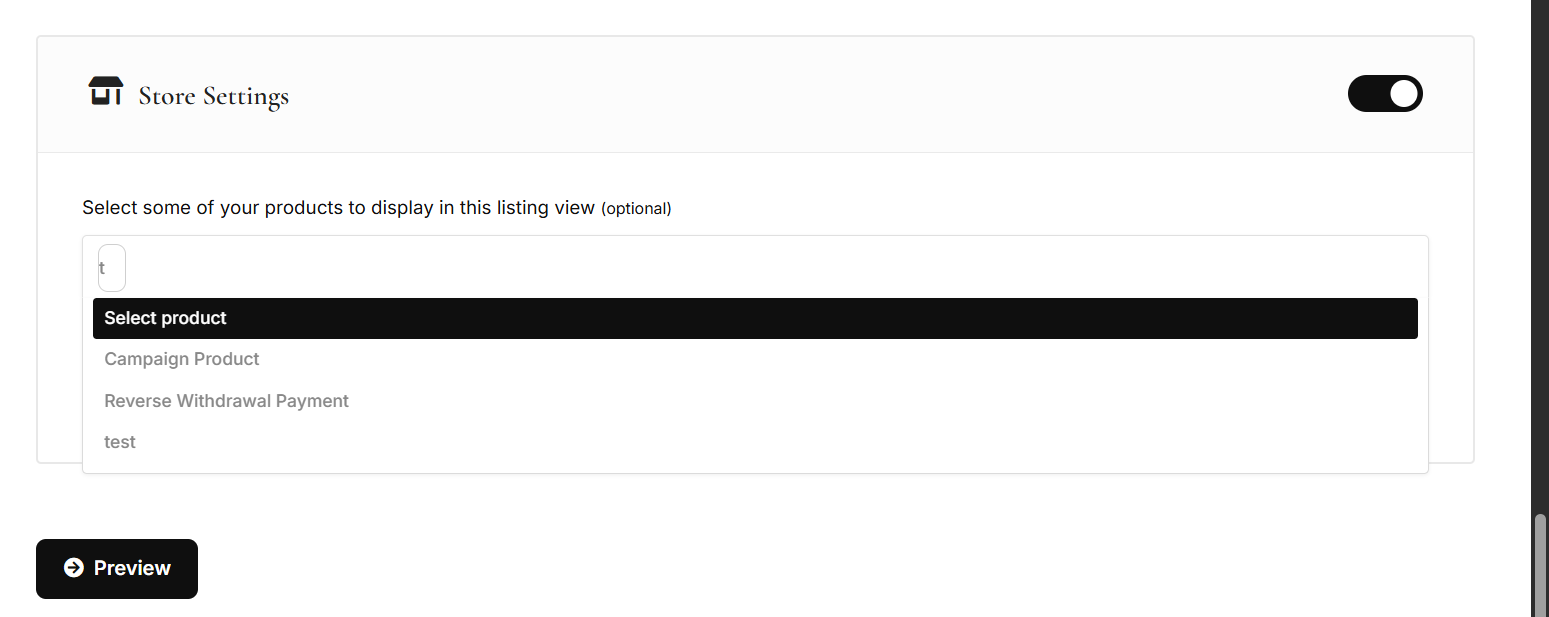
Step 7: Enable Store Settings
Scroll down to the bottom of the listing page.
Enable the Store Setting Toggle
Select the product you want to display in this listing
Click Preview
Then click Save Changes
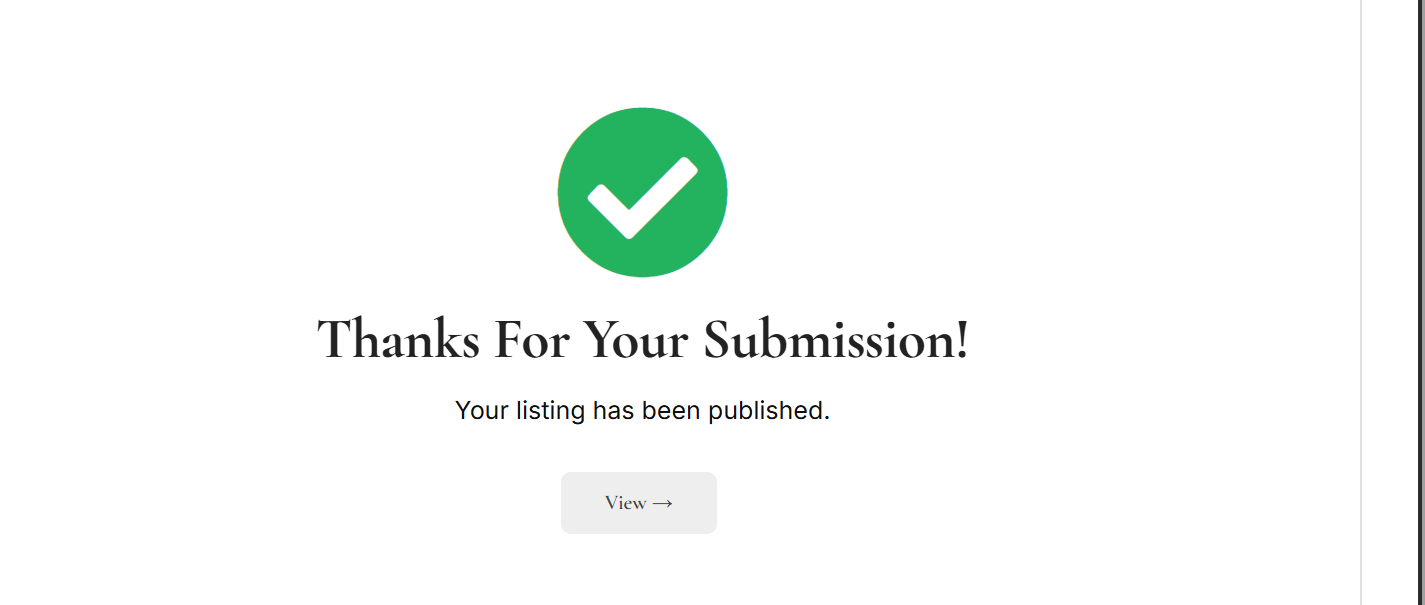
You will see a confirmation message after successful submission.
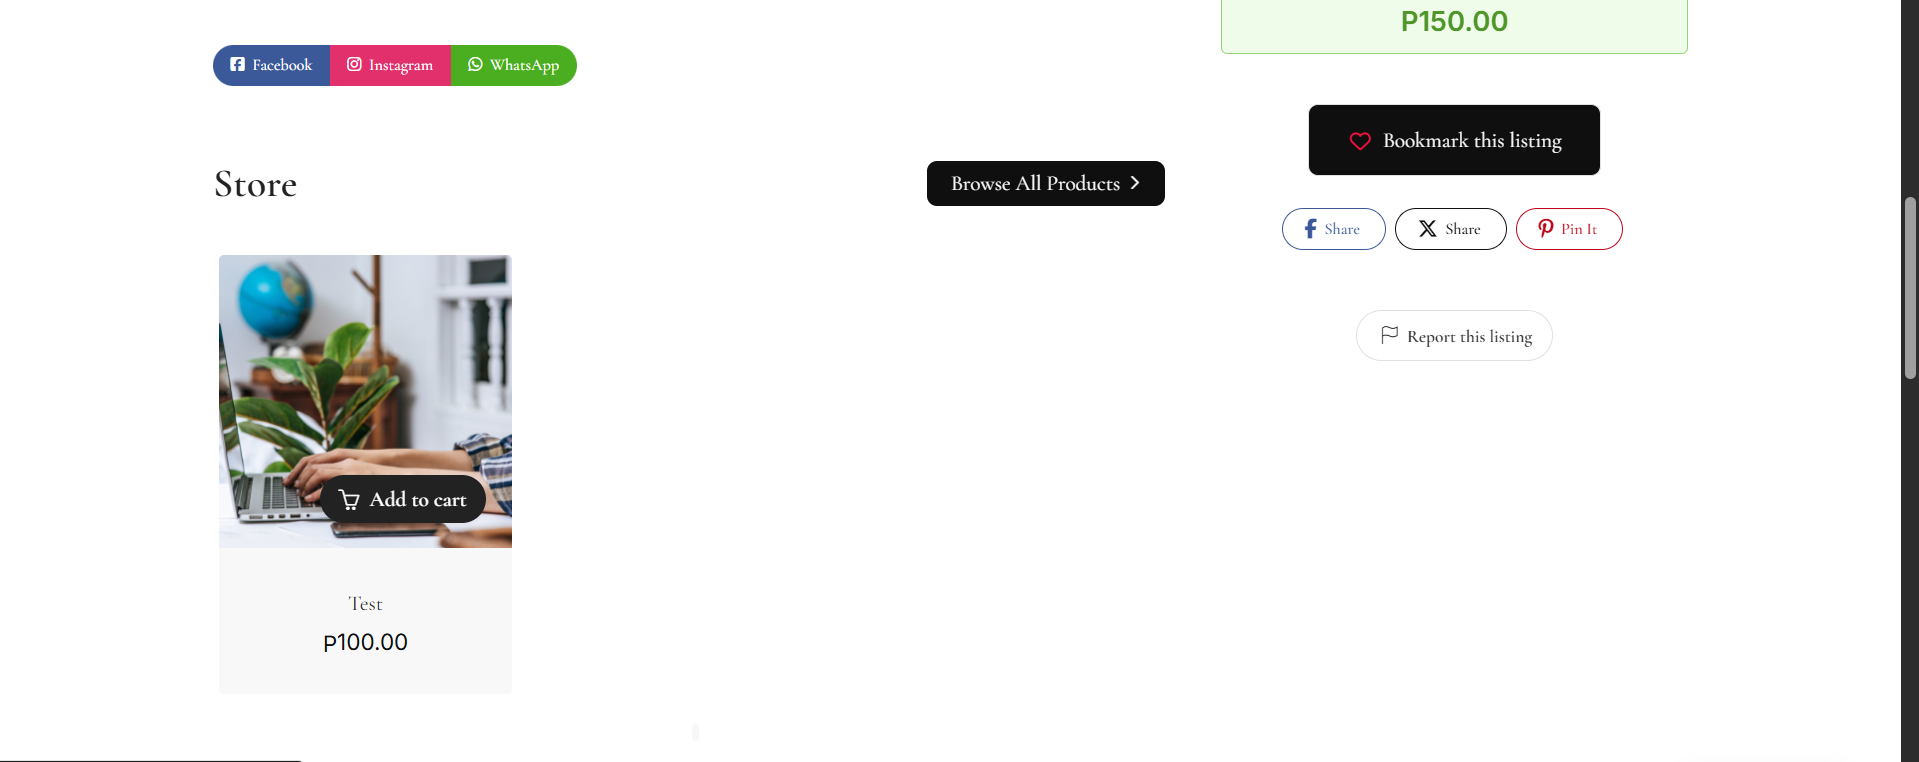
How Customers Purchase Your Product
When a user views your listing:
They will see the product displayed
They can click Add to Cart
Fill in the required details
Complete the checkout process
After placing the order, the customer will receive a confirmation email.
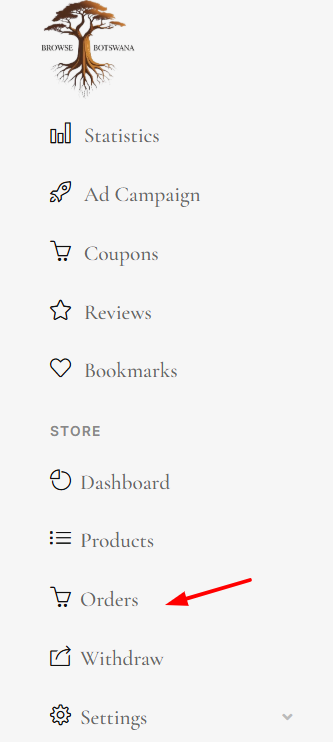
Viewing Orders
You can manage and view your orders from your dashboard.
Click on Orders
You will see all received orders.